

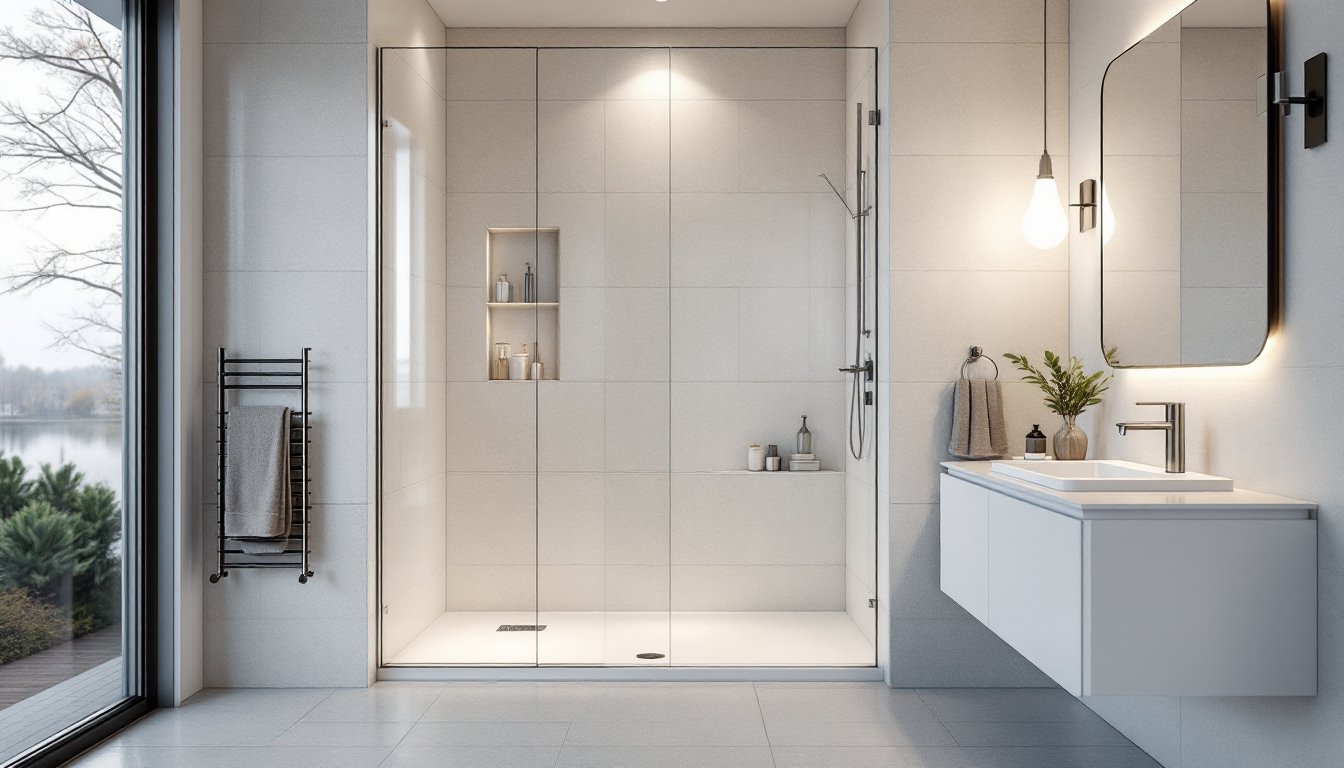

Small bathrooms don’t have to feel cramped, especially when you install a walk-in shower designed with spatial intelligence. Walk-in showers for small bathrooms have become the go-to choice for homeowners wanting to maximize floor space while creating that open, modern aesthetic. Unlike traditional shower enclosures with swing-out doors, walk-in showers eliminate the wasted space of a door swing and visual clutter that comes with a solid tub-surround combo. Small walk-in shower ideas have evolved significantly, offering practical solutions that combine glass, clever layouts, and smart material choices. Whether you’re working with a 5-by-7-foot master bath or an even tighter powder room conversion, this guide walks you through proven strategies to make your small walk-in shower feel generous and functional.
Key Takeaways
- Small bathroom walk-in shower ideas prioritize visual transparency through frameless glass enclosures and half-walls, which make tight spaces feel larger without adding actual square footage.
- Corner and wet room configurations are the most efficient layouts for small bathrooms, with a standard minimum footprint of 36-by-36 inches, though 42-by-42 inches provides comfortable functionality.
- Large-format tiles (12-by-24 inches or larger) with light, neutral colors and matched grout create fewer visual lines and maximize perceived space compared to small mosaic tiles.
- Recessed niche shelves, vertical wall-mounted caddies, and liquid soap dispensers keep a small walk-in shower organized without consuming floor space or creating clutter.
- Proper ventilation with a humidistat-controlled exhaust fan and strategic LED lighting positioned outside the spray zone prevent mold and transform cramped spaces into inviting retreats.
- Repositioning plumbing or removing outdated tub-shower combos can free 5–10 square feet and improve overall bathroom flow, paying dividends in livability and resale value.
Glass Enclosures And Open Designs
The cardinal rule of small bathroom design is visual transparency. Frameless glass enclosures or half-walls with glass panels create sightlines that make the entire room feel larger without actually adding square footage. A frameless glass shower enclosure (typically 3/8-inch tempered glass) bounces light and eliminates the visual weight of framed metal tracks that can box in a tight space.
Wet rooms with knee walls or partial glass barriers are another option, they define the shower zone without fully isolating it. The open design means no glass door swing radius to worry about, and installation is straightforward: anchor a half-wall (36–48 inches tall) with proper waterproofing behind the drywall, then top it with a glass panel. Sloped flooring (typically a 1/4-inch fall per linear foot) directs water toward a floor drain.
For budget-conscious DIYers, pivot shower screens or even heavy shower curtains on stainless-steel rods deliver open-concept benefits. The trade-off is durability, a quality curtain liner (at least 200 microns) needs yearly replacement, but installation is minutes rather than days. Avoid the temptation of opaque glass or frosted panels in tiny bathrooms: they read as walls and close off the space visually.
Corner Shower Configurations
Wedging your walk-in shower into a corner is the classic small-bathroom move. A corner layout anchors the wet area and leaves the remaining floor open for vanity, storage, or simply movement. The standard minimum footprint is 36 by 36 inches (tight but functional), though 42 by 42 inches feels genuinely comfortable for most adults.
A corner shower also simplifies plumbing: your drain line runs straight down one wall, and supply lines tuck into the perpendicular walls behind the sheathing. This straightforward routing saves labor and material costs. When framing, ensure studs in the corners are properly doubled to support grab bars and any future heavy accessories.
One critical detail: corner configurations are prone to water creep if the caulk seal fails between the glass and tile. Use a silicone caulk (not acrylic) at the intersection, and inspect it annually. Acrylic shrinks and cracks within 2–3 years: silicone stays flexible and lasts 5–7 years under shower spray.
Wet Room Layouts
A wet room transforms the entire bathroom into one waterproofed zone, eliminating the shower enclosure entirely. The shower is simply the lowest point in a sloped floor, and the whole room drains. This maximizes perceived space and is genuinely luxurious, but it demands proper waterproofing, a full membrane barrier (rolled or sprayed) behind tile, plus a secondary drain to catch any leaks behind the first line of defense.
Wet rooms are code-intensive in many jurisdictions: they often require a licensed contractor and building permits. The upfront cost is higher (typically $3,500–$8,000 for a small bathroom remodel including wet room conversion), but resale value and that spa-like openness appeal to buyers. If you proceed DIY, invest in a waterproofing course and work slowly, shortcuts here lead to expensive mold remediation later.
Clever Storage Solutions Within The Shower
Squeezing storage into a small walk-in shower means building smart, not big. Recessed niche shelves carved into the stud cavity (typically 12 by 24 inches per niche) hold shampoo and soap without eating floor space. Frame a 2-by-4 header between studs at your desired height, install a waterproof backing board, then tile over it. Installation takes an hour: the payoff is substantial.
For renters or temporary fixes, adhesive-mount corner shelves (stainless steel or tempered glass) offer storage without cutting drywall. They don’t hold heavy loads, but they’re perfect for bar soaps and small bottles. Keep them away from direct spray to extend the adhesive lifespan.
Vertical wall-mounted caddies are underrated. A rust-resistant caddy anchored to a stud with stainless-steel fasteners doesn’t steal floor real estate and keeps bottles visible and accessible. Avoid plastic caddies in humid bathrooms: they degrade and trap moisture. Stainless steel or aluminum-frame caddies cost more but last years longer.
The golden rule: every item in the shower must justify its footprint. Liquid soap dispensers mounted at arm height reduce clutter from bottles, and a small corner seat (if you have 36+ inches to spare) doubles as a foot-scrub station and visual break in the tile.
Lighting And Ventilation Tips For Small Spaces
Proper lighting transforms a cramped wet box into an inviting retreat. Recessed ceiling lights positioned just outside the shower spray zone (18+ inches from the enclosure edge) brighten the space without creating glare on wet glass. Install at least two fixtures in a small bathroom: one creates harsh shadows, while two or three distribute light evenly.
Wall-mounted sconces on either side of a mirror add ambient light and reduce the clinical feel of ceiling-only fixtures. In a tiny bathroom, every lumen counts, so choose LED bulbs rated 3000K (warm white) to avoid the sterile appearance of cool white lighting. LEDs also run cooler and last 25,000+ hours, ideal for moisture-prone bathrooms.
Ventilation is non-negotiable in small bathrooms with walk-in showers. A dedicated exhaust fan (rated for your bathroom’s square footage, typically 50–100 CFM for small rooms) must vent to the outdoors, not into the attic. Install a humidistat-controlled fan that kicks in automatically and runs 20–30 minutes after a shower to prevent mold. A poorly vented bathroom will develop mildew within months, especially behind tile and within wall cavities.
Fan placement matters: position it as close to the shower as code allows (typically 3–4 feet away to avoid backdraft). Ductwork should be rigid metal or insulated flex duct, sealed at all connections with mastic sealant. Insulation on ductwork prevents condensation in attics during winter.
Tile And Material Choices That Maximize Visual Space
Tile selection is your biggest visual lever in a tiny shower. Large-format tiles (12 by 24 inches or larger) create fewer grout lines, which trick the eye into perceiving more open space. Conversely, small mosaic tiles (1-inch) or subway tile emphasize grout joints and can make a compact area feel busier and smaller.
Color matters too. Light, neutral tones (white, cream, pale gray) reflect light and expand the perceived volume. Dark or saturated colors absorb light and visually compress the space. A common trick: run large light tiles on walls and a slightly textured or contrasting tile on the floor (for safety and visual grounding). Avoid an all-white shower, it looks sterile and actually makes walls feel closer due to lack of depth cues.
Grout color affects the equation. Matching your grout to the tile (color-matched grout) de-emphasizes joints and reads as continuous surface. Contrasting grout (dark on light) creates graphic lines and can make a small space feel boxed in. For small bathrooms, stick with matched or near-matched grout.
Slippery flooring is a common hazard in small showers where you’re already squeezed. Choose tiles with a slip-resistance rating of R11 or higher (per ASTM standards). Textured surfaces, brushed finishes, or non-slip coatings add grip without looking institutional. Large-format non-slip tiles are available: they’re pricier but deliver the visual openness you want without safety compromise.
Natural stone (marble, granite) looks premium but requires sealing every 1–2 years and is porous, not ideal for first-time DIYers in humid bathrooms. Porcelain tile mimics stone’s appearance, resists moisture, and needs minimal maintenance. Browse interior design ideas to see how designers handle material choices in compact spaces.
Layout Modifications For Tight Bathrooms
Sometimes the room itself needs reconfiguring. Removing a dated tub-shower combo and replacing it with a walk-in shower alone frees up 5–10 square feet of usable floor. That’s enough space to add a narrower vanity, an open shelving unit, or simply breathing room for movement.
Alternatively, positioning the shower at an angle or along a diagonal can feel less boxy than a traditional corner placement. This takes more tile work and precise plumbing routing, but the visual result is a bathroom that doesn’t feel like a shoebox. Ask yourself: would removing the toilet to a different wall, or narrowing the vanity, improve flow? Often, a $2,000–$3,000 repositioning of utilities pays for itself in livability and resale appeal.
One practical hack for older homes with awkward floor plans: float the shower enclosure away from the exterior wall. This breaks up the visual monotony and, counterintuitively, makes the room feel less cramped because there’s no wall-to-wall enclosure. You’ll need to run supply and drain lines under the floor (or in a chase wall), so it’s not a cosmetic-only project, but the payoff in perceived spaciousness is genuine.
Before committing to layout changes, consult a plumber about feasibility and cost. Supply lines and drain slopes are governed by building code: running new lines might require a licensed tradesperson and permits in your jurisdiction. Planning a bathroom remodel to avoid costly mid-project surprises.