

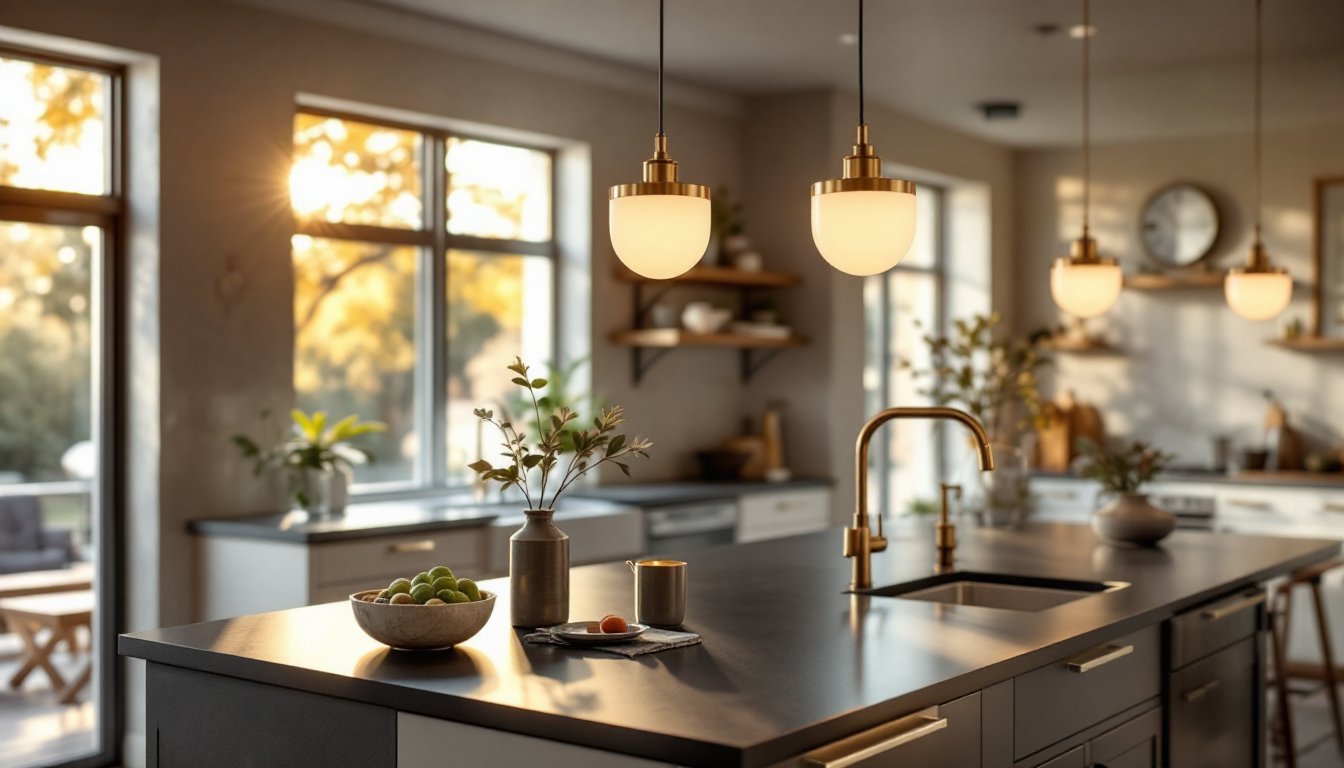

Transitional pendant lighting sits in that sweet spot where clean lines meet timeless elegance. If your home walks the line between contemporary comfort and classic sophistication, these fixtures are built for you. They work equally well over a sleek kitchen island or above a traditional dining table, adapting to your space without demanding a complete design overhaul. Unlike trendy statement pendants that feel dated in five years, transitional designs have staying power because they blend the best of both worlds, modern simplicity with classical proportion and warmth. Whether you’re refreshing one room or planning a whole-home lighting update, understanding what makes transitional pendants tick helps you choose fixtures that actually complement your space and lifestyle.
Key Takeaways
- Transitional pendant lighting blends modern simplicity with classical proportions, making it a timeless choice that adapts to any home style without looking dated.
- Use the one-third rule for sizing: a pendant’s diameter should be roughly one-third the width of the island or table it illuminates for optimal visual balance.
- Hang pendants 30 to 36 inches above countertops and 60 to 66 inches above dining tables to ensure proper light distribution and clear sightlines.
- Transitional pendants work best in kitchen islands, dining areas, and entryways, where thoughtful material contrast—such as brushed brass with frosted glass—creates visual interest without clutter.
- Most DIY pendant installations are straightforward if electrical roughing already exists, but always turn off power, use a voltage tester, and consult a licensed electrician if you’re uncomfortable with wiring.
What Defines Transitional Pendant Lighting
Transitional pendant lighting avoids extremes. These fixtures reject the harsh minimalism of pure modern design and the ornate detail-work of traditional styles, landing instead on a middle ground that feels approachable and livable. Expect clean geometry softened by warm materials like brushed brass, matte black, or natural wood. The silhouettes are generally simple, cylindrical, hemispherical, or tapered shapes, but often finished with subtle details that add visual interest without clutter.
A true transitional pendant combines three key characteristics: restrained ornamentation, balanced proportions, and versatile materials. The fixture itself doesn’t scream for attention: instead, it complements your kitchen, hallway, or entryway without fighting your existing décor. You’ll notice transitional pendants often feature a mix of textures, perhaps a concrete shade paired with a metal frame, or a frosted glass bowl supported by a sleek rod. This material variety gives the design character while keeping it grounded and functional. The goal isn’t to be invisible: it’s to belong.
Why Transitional Pendant Lighting Works in Any Home
The real magic of transitional design is flexibility. A transitional pendant doesn’t lock you into a specific aesthetic, it works equally well in a Craftsman bungalow, a mid-century modern ranch, or a contemporary open-plan home. This adaptability makes it an excellent investment, especially if you’re planning to stay in your home long-term or want fixtures that won’t feel dated when you refresh your paint or reupholster your furniture.
Transitional pendants succeed because they respect both function and form. They provide adequate light for tasks, essential over kitchen islands and dining tables, while maintaining the visual balance that makes a room feel intentional. Unlike highly stylized fixtures that impose a design direction, transitional pendants serve as a neutral anchor, letting your furniture, wall colors, and accessories define the room’s personality. The design philosophy prioritizes longevity over trendiness, which means you’re buying a fixture that looks just as appropriate in 2026 as it will in 2035.
Key Design Elements to Look For
When evaluating a transitional pendant, focus on proportion first. The fixture’s width should be roughly one-third the width of the surface it’s lighting (for a 36-inch kitchen island, aim for a pendant with a 12-inch diameter). The height matters too, hang the bottom of the fixture 30 to 36 inches above a countertop or 60 to 66 inches above a dining table to avoid creating a visual obstruction or a glare hazard.
Look for materials that show thoughtful contrast. A transitional pendant might pair brushed metal hardware with a frosted or opal glass shade, or combine matte black with warm wood tones. The shade itself should allow light to diffuse evenly: you don’t want harsh shadows or an overly bright hotspot directly below. If the fixture accommodates standard E26 bulbs, you have flexibility to choose LED, incandescent, or vintage-style bulbs depending on your preferred color temperature and dimming compatibility. Finishes matter, matte and brushed surfaces feel more transitional than high-gloss or polished options, which read as too formal or too contemporary.
Best Room Applications for Transitional Pendants
Kitchen islands remain the most practical home for transitional pendants. Hanging a pair or trio of 8 to 12-inch pendants above the island creates a focal point while distributing light evenly across the work surface. Space multiple pendants 24 to 30 inches apart and center the group over the island. This configuration works in both galley kitchens and large open-plan spaces because transitional pendants don’t demand visual dominance, they complement without overwhelming.
Dining tables benefit equally from transitional pendant lighting. A single larger pendant (approximately 16 to 18 inches in diameter) centered above a round table, or a pair above a rectangular surface, creates intimate task lighting for meals while maintaining sight lines for conversation. Recent interior design trends favor this layered approach to lighting, mixing pendants with ambient ceiling fixtures or wall sconces for flexibility.
Transitional pendants also excel in entryways, hallways, and mudrooms where a touch of warmth makes the space feel intentional rather than utilitarian. A single pendant in a small entry foyer creates a gentle focal point, while multiple fixtures in a hallway establish rhythm and visual interest. For bedside table alternatives or over a home office desk, smaller transitional pendants (6 to 8 inches) provide focused task lighting without the formality of a desk lamp. The key is respecting the fixture’s size relative to the space, oversized pendants in tiny rooms feel cramped: undersized fixtures in large spaces feel tentative.
Choosing the Right Size and Height
Size calculations aren’t arbitrary: they’re rooted in visual balance and practical function. For island or table lighting, use the one-third rule: measure the island or table width, divide by three, and select a pendant close to that diameter. A 48-inch island works best with a 16-inch pendant: a 36-inch surface calls for a 12-inch fixture. This proportion feels natural to the eye and ensures adequate light without overshadowing the space.
Height is equally critical. Hanging pendants too low creates a visual barrier between people on opposite sides of an island or table: too high, and the light disperses ineffectively. Aim for 30 to 36 inches of clearance between the fixture’s lowest point and a countertop, and 60 to 66 inches above a dining table. Adjust slightly if you’re very tall or have low ceilings, there’s no penalty for hanging fixtures a few inches lower in tight spaces, but do ensure adequate headroom. If your ceiling sits below 8 feet, consider flush-mount or semi-flush fixtures rather than pendants with long chains or rods.
Material finish influences perceived size as well. A 12-inch pendant in matte black feels slightly smaller than the same fixture in polished brass because the darker finish recedes visually. Keep this in mind when coordinating multiple fixtures, select matching finishes to create visual continuity and ensure proportions feel intentional. Sites like Design Milk showcase how contemporary pendant arrangements balance scale with surrounding architecture.
Installation Tips for DIY Enthusiasts
Most pendant installations are well within a confident DIYer’s skill set, provided your ceiling already has electrical roughing (a junction box, supply wire, and breaker). If you’re adding a new fixture where none existed, you may need a licensed electrician to run new wire and ensure NEC (National Electrical Code) compliance, local jurisdictions vary, so check your building department before starting.
For straightforward replacements, gather needle-nose pliers, wire strippers, a voltage tester, wire nuts, and a flat-head screwdriver. Always turn off power at the breaker before beginning work and verify the fixture is de-energized using a non-contact voltage tester. These tools are inexpensive and prevent accidental shock. If you’re uncertain whether a wire is live, assume it is.
The basic process: disconnect the old fixture, leaving the supply wires in the junction box. If your new pendant uses a mounting bracket, attach it to the box according to the manufacturer’s instructions. Strip approximately 3/4 inch of insulation from the supply wires and the fixture leads, then twist matching wires together (black to black, white to white, bare copper to bare copper). Secure each connection with an appropriately sized wire nut, twisting clockwise until snug. Tuck wires into the junction box, attach the canopy (the trim ring covering the box), and hang the shade. Test the fixture before finalizing the installation, and ensure the canopy sits flush against the ceiling without gaps.
For multiple pendants over an island, use a swag-style kit or install a separate junction box for each fixture if the existing box is shared with other circuits. Ensure combined load doesn’t exceed the breaker’s rating. If you’re uncomfortable with electrical work at any point, stop and call a licensed electrician, this is one area where mistakes create genuine safety hazards. Also consult modern home design inspiration for creative multi-pendant arrangements that align with your lighting layout.
Conclusion
Transitional pendant lighting offers the rare combination of visual sophistication and practical flexibility. These fixtures bridge contemporary and classic design sensibilities, ensuring they complement your space today and adapt to tomorrow’s style shifts. Choose appropriately sized fixtures for your space, hang them at the proper height, and ensure electrical work meets code, most installations are straightforward for experienced DIYers. The result is a thoughtful lighting solution that enhances functionality without demanding aesthetic compromise.