

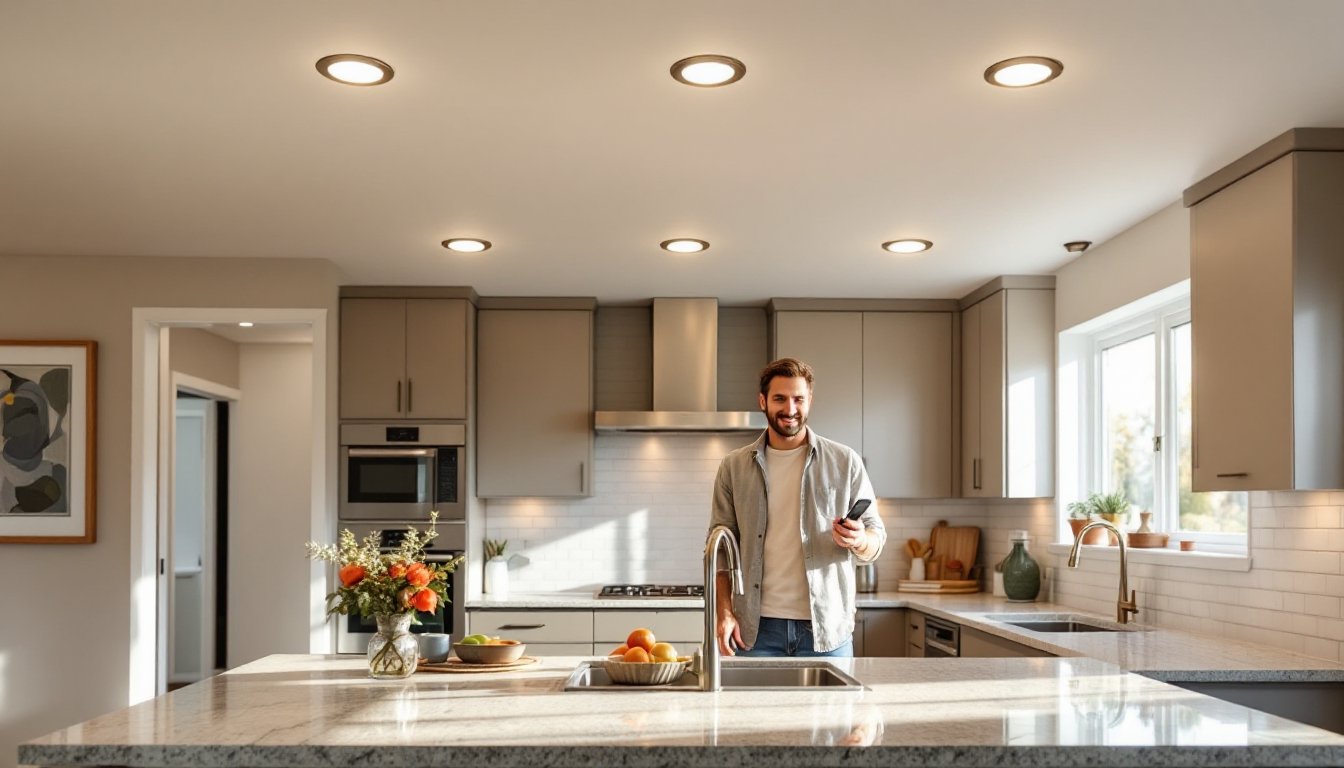

6-inch LED recessed lighting has become the go-to choice for homeowners modernizing their living spaces, kitchens, bathrooms, and basements. Unlike older incandescent or CFL recessed fixtures, these compact powerhouses fit cleanly into standard ceiling cavities, deliver directional light where you need it, and run cool enough to nest safely near insulation. Whether you’re retrofitting an existing ceiling or roughing in a new room, understanding how 6-inch LED recessed lights work, and how to pick the right ones, will help you avoid costly mistakes and create a brighter, more efficient home.
Key Takeaways
- 6-inch LED recessed lighting cuts energy consumption by 75% compared to incandescent fixtures while delivering 10 to 20 years of reliable performance with minimal bulb replacements.
- Choose the right 6-inch LED recessed light based on your room’s cavity depth, light output needs (600–900 lumens typical), and CRI rating of 90+ for accurate color rendering in kitchens and bathrooms.
- Proper spacing of fixtures 3–6 feet apart, combined with IC-rated housing for insulation-contact situations, ensures even coverage and safe installation in both new and retrofit ceiling projects.
- Installation requires careful attention to electrical safety, including circuit verification with a noncontact voltage tester, proper wire gauging, and secure junction box connections to prevent fire hazards.
- LED-compatible dimmers are essential for dimmable 6-inch recessed fixtures to eliminate flickering and humming, and regular microfiber cloth cleaning every 6 months maintains peak brightness and appearance.
What Is 6-Inch LED Recessed Lighting and Why It Matters
A 6-inch LED recessed light refers to the diameter of the fixture’s trim ring, the visible part flush with your ceiling. The fixture itself sits in a housing that’s installed above the drywall, in the joist space, with electrical wiring routed to a junction box. This is different from surface-mounted or pendant lighting, which hang below the ceiling.
The “6-inch” dimension is a standard opening size that fits into most residential ceiling cavities without requiring major framing work. The housing depth varies depending on how much clearance you have above the drywall, typically ranging from 3 to 5 inches for standard new construction applications. LED technology makes these fixtures efficient and long-lasting compared to their halogen or incandescent predecessors, which generated significant heat and burned through replacement bulbs every year or two.
Why does this matter? Recessed lighting creates clean sightlines, works with any décor style, and won’t bang your head when you’re walking through a room. It’s also the standard for modern kitchens, living rooms, and bathrooms where a polished look matters.
Key Benefits of Switching to 6-Inch LED Recessed Fixtures
Energy Efficiency and Cost Savings
LED recessed lights consume about 75% less energy than equivalent incandescent fixtures. A typical 6-inch LED recessed light draws between 9 and 15 watts while delivering the brightness of a 60 to 75-watt incandescent bulb. If you install twelve 6-inch LEDs across a kitchen running 4 hours daily, you’ll save roughly $80 to $120 per year on electricity compared to halogen trim options.
LED lifespan is another cost driver. Most quality 6-inch LED recessed fixtures are rated for 25,000 to 50,000 hours of use, roughly 10 to 20 years in a typical home. Halogen and CFL recessed lights? Often 3,000 to 8,000 hours. You’re replacing bulbs far less often, and you’re not paying an electrician every time one burns out in a hard-to-reach ceiling.
Design Flexibility and Aesthetic Appeal
Modern 6-inch LED recessed fixtures come in a range of color temperatures: warm white (2700K), neutral white (3000–4000K), and cool white (5000K and above). Warm tones feel cozy in bedrooms and living rooms: cool tones enhance task lighting in kitchens and bathrooms. Many fixtures also offer dimmability, so you can adjust ambiance throughout the day without swapping trim rings.
The trim ring finish, brushed nickel, bronze, chrome, or baffle trim to reduce glare, influences the overall aesthetic. Baffle trims scatter light more gently and reduce harsh shadows, making them ideal for kitchens and offices. Wall-wash trims angle light to highlight artwork or architectural details. A matte white or black trim disappears into the ceiling, letting the space breathe.
Choosing the Right 6-Inch LED Recessed Lights for Your Home
Start by measuring your space and identifying where you need light. A typical kitchen island benefits from recessed fixtures spaced 3 to 4 feet apart for even coverage. Bathrooms over vanities often use a pair of 6-inch LEDs flanking a mirror, with additional fixtures in the center of the room. Basements and living rooms may use a grid pattern, spacing fixtures 4 to 6 feet apart depending on ceiling height and brightness needs.
Next, verify your ceiling cavity depth. Standard new construction ceilings (2×10 joists with insulation) typically have 5 to 8 inches of clearance above the drywall. If you’re retrofitting into a finished ceiling with limited attic or crawl space, you’ll want an “IC-rated” (insulation-contact) fixture that can sit flush against insulation without overheating. Non-IC fixtures must maintain at least a 3-inch clearance from insulation, which matters if your retrofit space is tight.
Light output is measured in lumens. A 6-inch LED recessed light typically delivers 600 to 900 lumens, depending on wattage and design. For general ceiling lighting in a kitchen, aim for 50 to 75 lumens per square foot of floor area. Use online calculators or consult product datasheets to confirm coverage for your room size.
Check the fixture’s color rendering index (CRI). A CRI of 90 or above means colors appear truer and more natural under the light, important in kitchens and bathrooms where you’re matching paint, tile, or skin tone. Budget fixtures often have a CRI of 80, which is acceptable for hallways or storage but less ideal for living spaces.
Budget considerations: basic 6-inch LED recessed fixtures run $15 to $30 each: mid-range dimmable fixtures with good CRI cost $30 to $60: premium options with smart home integration or adjustable color temperature can exceed $100. Bulk purchases reduce per-unit costs, so pricing out a full project (say, twelve fixtures) is smarter than buying one or two at a time.
Installation Basics for DIY Enthusiasts
Before you start, understand the scope. Recessed lighting installation involves cutting ceiling drywall, fishing electrical wire through wall cavities, and making connections in a junction box. If your home’s wiring doesn’t have a dedicated circuit for your new lights, or if you’re unsure about local electrical codes, hire a licensed electrician. Electrical mistakes cause fires.
For a retrofit into an existing finished ceiling, the process is: locate your circuit breaker, turn off power to the area, mark fixture locations on the ceiling (use painter’s tape and a tape measure), cut drywall holes using a drywall saw or hole saw (wear a dust mask: drywall dust is no joke), remove old fixtures if replacing them, route new wire through the holes, mount the new housing frame, set wire connections in a junction box, attach the trim ring, and install the LED bulb or trim ring assembly (some fixtures come pre-wired and ready to plug in: others require a licensed hand).
Tools you’ll need: tape measure, pencil, drywall hole saw (6 ½ inches is standard), drill or impact driver, wire strippers, needle-nose pliers, screwdrivers, noncontact voltage tester (critical safety tool), and a stud finder if you’re avoiding joists. A family handyman guide to electrical projects covers basics, but don’t skip professional help if you’re adding new circuits or running wire in walls you’ve never opened.
Safety first: wear safety glasses and a dust mask when cutting drywall. If you’re working above your head, use a stepladder, not an unstable chair. Turn off power to the circuit, verify it’s off with a noncontact voltage tester, and label your wires before disconnecting anything.
The actual steps: Mark hole locations on the ceiling (typically 3-4 feet apart for even lighting). Use your hole saw to cut 6 ½-inch holes. Slide the housing frame into the hole and secure it to the joists or drywall braces with the included brackets. Run a separate 14 or 12-gauge wire from a junction box (or outlet) to the fixture, leaving 6 to 8 inches of slack inside the housing. Connect the incoming hot wire (usually black), neutral wire (usually white), and ground wire (bare copper or green) using wire connectors, twist the stranded wire from your circuit together with the fixture’s leads, then screw on a wire connector by hand until tight. Tuck the wires into the junction box and secure the box cover or light trim ring. Install the bulb or pre-assembled trim ring (which may just plug into the fixture), and test.
Common mistakes: not acclimating drywall before cutting (it’s harder and more likely to crack), running wire in tight bundles that can overheat, over-tightening wire connectors (you’ll strip the wire), and not securing junction box covers properly. Take your time, rushing is how you cut through existing wiring behind the drywall or create a fire hazard.
Maintenance and Long-Term Performance
LED recessed lights need minimal maintenance compared to older technologies. The main enemy is dust and dirt buildup on the trim ring and lens, which reduces light output over time. A soft, dry microfiber cloth wiped over the trim every 6 months keeps fixtures looking crisp and performing at full brightness.
Dimmable 6-inch LED fixtures require a compatible dimmer switch. Cheap dimmers designed for incandescent bulbs will cause flickering or humming with LEDs. Look for dimmers labeled “LED-compatible” or “ELV (electronic low-voltage)-compatible.” If a fixture hums or flickers after installation, the dimmer is likely the culprit, upgrade it.
Electrically, check that your fixture is on a circuit breaker rated for its amperage. A typical 15-amp circuit can handle multiple 12-watt LED fixtures without issue, but if you’re daisy-chaining fixtures and notice the breaker tripping under load, you’ve overloaded the circuit and need a second one (hire an electrician). Don’t ignore tripping breakers: they exist to prevent electrical fires.
LED bulbs themselves rarely fail, but some fixtures have a driver (the electronic component inside the housing that regulates power to the LEDs). If a fixture suddenly goes dark, check the circuit breaker first. If the breaker is fine, the driver may have failed, most quality fixtures come with a 5-year warranty covering replacements. Digital trends reviews on smart lighting discuss newer connected fixtures that show you energy use and let you adjust settings from a phone, though traditional hard-wired 6-inch LEDs remain the standard for reliability and simplicity.
Over the fixture’s 10-to-20-year lifespan, you’ll spend almost nothing on maintenance except the occasional cleaning. That’s the beauty of LED technology, it just works.