

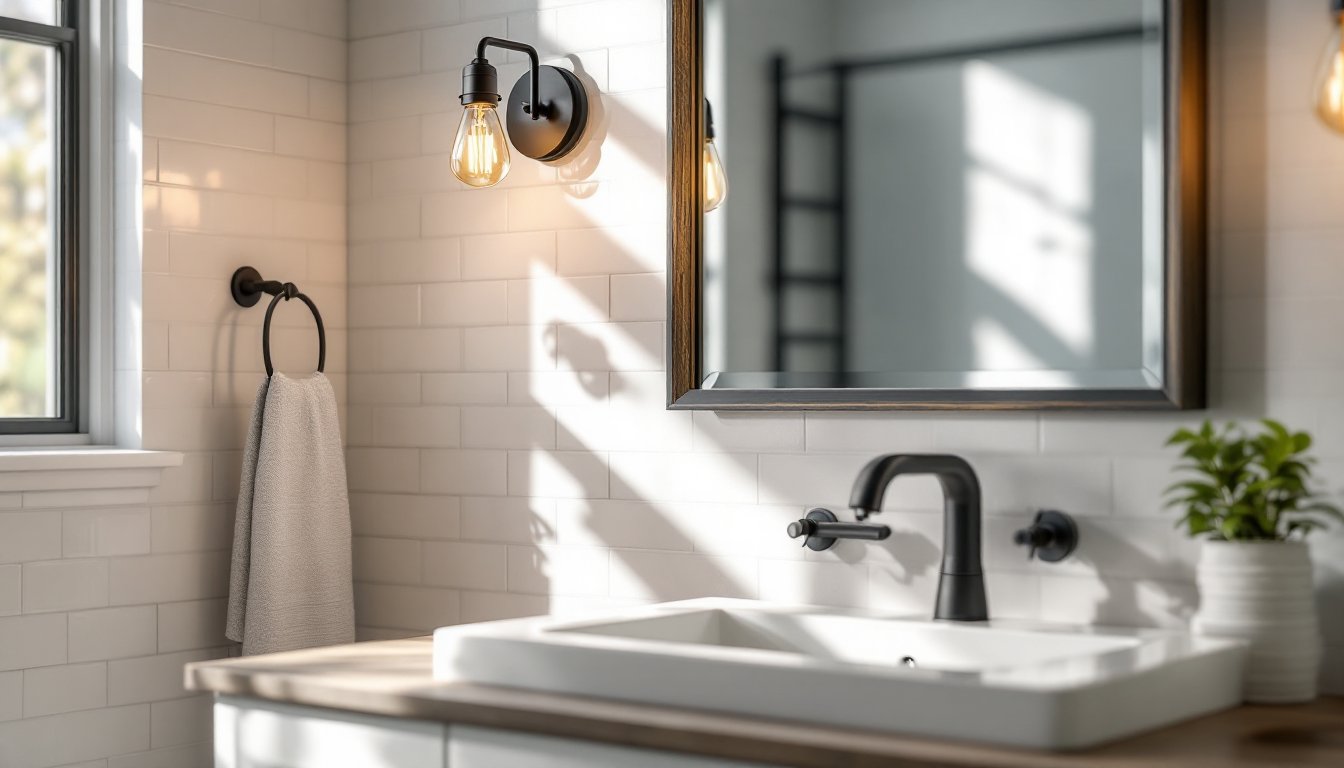

Industrial bathroom vanity lighting has moved beyond warehouse lofts into everyday homes, and for good reason. This style pairs exposed bulbs, metal frames, and clean lines with the functionality a bathroom mirror demands, bright, shadow-free task lighting. Whether you’re overhauling a bathroom or just upgrading the vanity area, industrial fixtures offer a sophisticated edge that works with countless design directions. The look is honest and unpretentious: no hidden wiring, no ornate shades, just durable materials doing their job while looking sharp. This guide walks you through choosing, placing, and installing industrial vanity lighting so your bathroom gets both style and substance.
Key Takeaways
- Industrial bathroom vanity lighting delivers excellent task lighting while adapting seamlessly to modern, farmhouse, mid-century, and transitional design styles without dominating the space.
- Install industrial vanity fixtures 18–24 inches above the sink rim with 12–18 inches spacing between multiple lights to eliminate harsh shadows and ensure even face lighting.
- LED Edison bulbs provide the iconic industrial aesthetic with 80% less energy consumption than traditional incandescent bulbs, and should deliver 400–500 lumens per bulb for proper grooming tasks.
- Match your vanity light finish to faucets, towel bars, and cabinet hardware—whether matte black, brushed nickel, or matte brass—to create unified metalwork that feels intentional and cohesive.
- Mid-range industrial lighting fixtures from reputable makers cost $80–$180 each, and swapping an existing fixture in homes with modern electrical boxes is a straightforward weekend DIY project.
Why Industrial Vanity Lighting Works for Modern Bathrooms
Industrial design thrives on honesty. Exposed hardware, visible bulbs, and raw metal finishes celebrate how things are made rather than hide them. In a bathroom, this translates to fixtures that are as functional as they are photogenic, no unnecessary trim, no fussy details to collect dust or harbor mold.
The style also adapts. Industrial fixtures pair seamlessly with modern minimalism, mid-century décor, farmhouse, and even transitional bathrooms. A matte black vanity light with Edison bulbs reads differently next to subway tile than it does beside Zellige patterns. The fixture becomes a neutral player rather than a style dictator.
Practically, industrial vanity lighting typically delivers excellent task lighting. Two or three fixtures flanking a mirror spread light evenly across the face, reducing shadows for grooming tasks. Metal housings don’t absorb moisture the way wood trim can, making them naturally suited to bathroom humidity. And if a bulb burns out or you need to swap a finish, industrial designs rarely depend on hard-to-source parts or finicky mechanisms.
Essential Fixtures: Metal, Edison Bulbs, and Exposed Elements
Metal Materials and Finishes
Most industrial vanity lights use wrought iron, steel, or aluminum frames. Each has different characteristics. Wrought iron is heavier, welds cleanly, and ages beautifully with patina: it’s often the default for statement fixtures but costs more upfront. Steel offers similar durability at a friendlier price point and takes paint or powder coating well. Aluminum is lightweight and corrosion-resistant, making it ideal for humid bathrooms, though it’s less common in deliberately vintage-looking designs.
Finishes matter as much as material. Matte black remains the most popular choice, it recedes visually, making the bulbs the focal point. Brushed nickel and matte brass suit transitional and contemporary spaces. Raw steel with intentional rust patina works in industrial-maximalist bathrooms but needs sealing to prevent further oxidation in humid air. If you’re shopping, look for fixtures rated for wet locations (UL-listed for damp or wet bath environments): this ensures the housing and wiring can handle moisture without degrading.
Bulb Styles and Brightness Levels
Edison bulbs define much of industrial aesthetics, their visible filaments and warm amber glow are iconic. They come in various shapes: classic A19 (pear-shaped), ST64 (longer, more decorative), and others. But, traditional incandescent Edisons are being phased out in many regions and waste considerable energy. Modern LED Edison bulbs deliver the same look with 80% less electricity. Verify the lumen output: aim for 400–500 lumens per bulb for adequate vanity task lighting. A three-bulb fixture at 450 lumens each gives roughly 1,350 lumens, which matches typical bathroom mirror standards.
For those who want industrial style without visible filaments, frosted glass or metal shades diffuse light more evenly, reducing glare. Pair these with standard A19 or A21 LEDs in 2700K (warm white) or 3000K (neutral white) color temperature. The 2700K option suits spa-like bathrooms: 3000K is better if you need accurate color-matching for grooming. Check that your fixtures are dimmable-compatible if you want flexibility, not all LED bulbs work with standard dimmers, so confirm specifications before buying.
Placement and Installation Tips
Proper placement makes the difference between decent lighting and great lighting. The standard rule for vanity fixtures: install them 18–24 inches above the sink rim, with fixtures positioned 12–18 inches apart if you’re using two or three lights. This spacing prevents harsh shadows across the cheeks and under the chin.
If your mirror is wide (48 inches or more), a single centered fixture often under-lights the outer edges. Two fixtures flanking the mirror work best here. For narrower mirrors (36 inches or less), a single centered light or two closer fixtures keep the look proportional and avoid overcrowding.
Before cutting into drywall or studs, locate studs using a stud finder and verify there are no plumbing or electrical lines behind your planned mounting spots. Run a voltage tester along the wall to double-check for hidden circuits. Most vanity lights screw into standard octagonal electrical boxes, these should be rated for the fixture weight. Fixtures weighing under 50 pounds use a standard pancake box: heavier or larger assemblies need a bar hanger box bolted between studs for secure support.
Turn off the circuit at the breaker, confirm power is off, and follow the fixture’s wiring diagram carefully. Connect white to white, black to black, and ground (bare copper) to ground. If your existing wiring is cloth-insulated (common in older homes), consult an electrician, replacing outdated wiring is often code-required anyway. Caulk around the electrical box with silicone caulk (not paintable caulk) to prevent moisture penetration. Once fixtures are mounted and wired, test them before securing any trim or covers.
Combining Industrial Lighting With Your Bathroom Design
Industrial fixtures anchor a bathroom’s visual tone without dominating the space. Pair matte black or steel-finish lights with subway tile, concrete-look porcelain, or reclaimed wood vanities for a cohesive industrial zone. If your bathroom leans contemporary, brushed nickel or matte brass fixtures soften the industrial edge while maintaining clean lines.
Hardware coordination matters subtly. Match the finish of your vanity light to faucet fixtures, towel bars, and cabinet hardware, this unified metalwork feels intentional rather than accidental. A matte black light, matte black faucet, and black cabinet handles create a confident monochromatic layer that grounds the room.
When browsing design inspiration on sites like Houzz or Remodelista, save images of industrial vanity setups you gravitate toward. Note whether the fixtures sit flush against the wall (more contemporary) or have visible mounting brackets (more rustically industrial). Notice the bulb choice, clear glass, frosted, or bare filament, and the surrounding materials. This reference work prevents costly purchases and installation regrets.
Budget-Friendly Ideas and DIY Updates
Industrial vanity lighting ranges widely in price. Solid brass or wrought-iron fixtures with designer branding can exceed $300 per unit. Mid-range options, reliable steel fixtures from reputable makers, typically land between $80–$180 each. Budget-conscious builders find decent single-fixture options from big-box retailers for $40–$80, though these may feel lighter or show seams more obviously.
To stretch your budget, buy one high-quality statement fixture and flank it with simpler, matching secondary lights. Or swap out fixtures gradually: install one new industrial light, live with it for a month, then add more if it feels right.
For DIY updates, an interior design inspiration source like Homify offers thousands of bathroom photos to explore before committing. If your wiring is straightforward (existing vanity light position, modern electrical box), swapping the fixture itself is a weekend project for confident homeowners. Hire an electrician if lines are run through studs, the box is damaged, or your home has knob-and-tube wiring. The labor cost ($150–$300 per fixture) is worth it to avoid code violations or safety risks.
Paint-and-refresh routes work too. If your existing fixture is solid metal, a fresh coat of metallic spray paint rated for appliances or outdoor use (which resists moisture) can refresh a tired finish. Clean thoroughly with a degreaser first, prime with self-etching primer, and apply at least two thin coats of paint. This approach works best for fixtures that stay dry, not those dripping with condensation daily.