

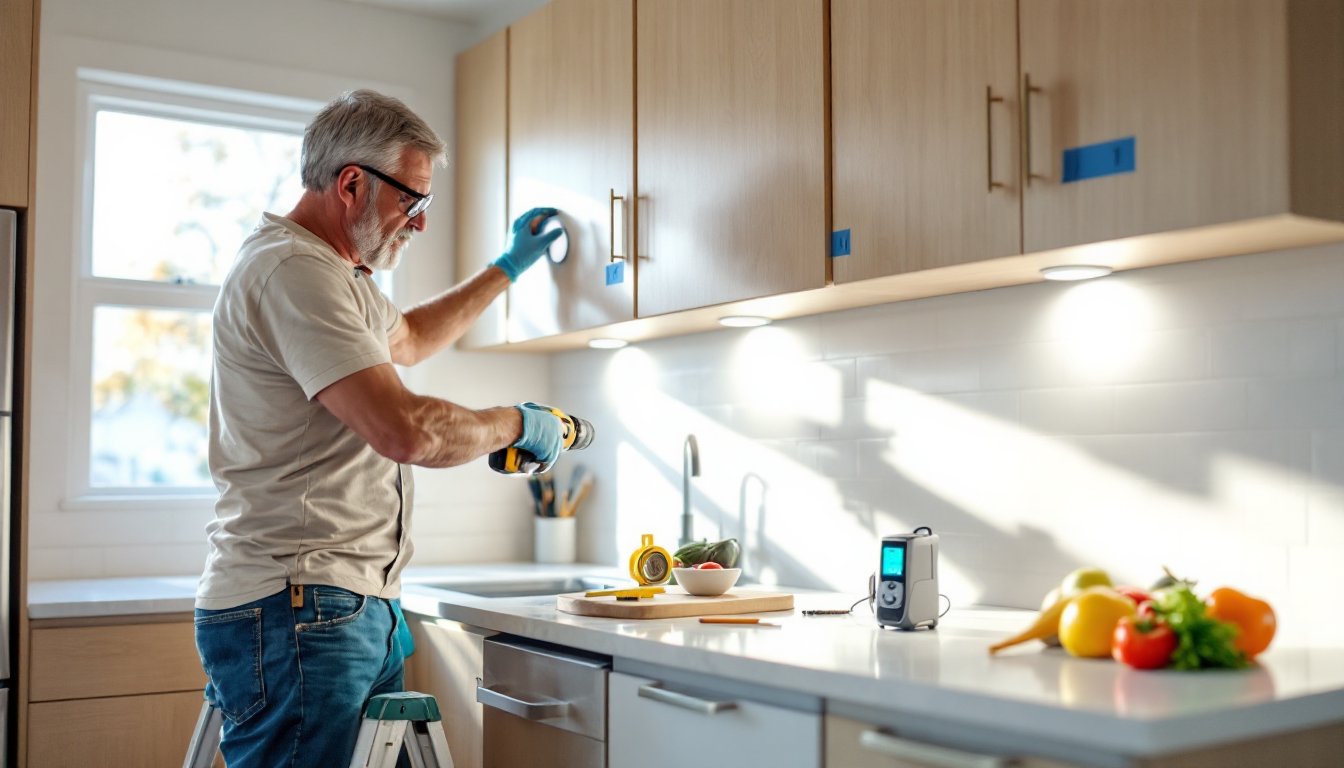

Under cabinet lighting transforms a kitchen from purely functional to genuinely inviting. It carves out task lighting where you need it most, over the countertop, while adding warm ambient glow that makes the space feel larger and more polished. Whether you’re prepping dinner or just enjoying your morning coffee, proper under cabinet lighting makes all the difference. The good news: this is a project most homeowners can tackle without an electrician, depending on the power source and local code requirements. Read on to learn how to choose the right system and get it installed correctly.
Key Takeaways
- Under cabinet lighting eliminates shadows on work surfaces and adds visual depth to kitchens, making the space feel larger and more polished for both task lighting and ambient atmosphere.
- Three main system types exist: line-voltage (brightest but requires electrician), low-voltage (easier DIY install via transformer), and plug-in LED strips (simplest but potentially lower brightness).
- Puck lights outperform LED strips for task lighting brightness and focused illumination, while strips excel at ambient accent lighting—many homeowners combine both for optimal results.
- Proper surface preparation and accurate spacing are critical: clean the cabinet undersurface thoroughly, space puck lights 12–18 inches apart, and use a level to ensure straight mounting for shadow-free illumination.
- A DIY under cabinet lighting installation typically costs $200–$800 and is achievable for most homeowners without an electrician, delivering significant visual impact and functional improvement compared to professional kitchen remodels.
Why Under Cabinet Lighting Matters for Your Kitchen
Task lighting under cabinets solves a real problem: your overhead fixture casts shadows across the countertop where you’re actually working. Under cabinet lighting fills that gap, illuminating cutting boards, prep areas, and stovetops with direct, shadow-free light. Beyond function, it adds visual depth to the kitchen. A well-lit countertop and backsplash draw the eye downward, making the space feel more spacious and intentional.
Different light temperatures also affect the mood. Warm white (2700K–3000K) creates a cozy, inviting atmosphere: cool white (4000K–5000K) lends a modern, crisp feel. Most homeowners prefer warm white in kitchens because it complements wood cabinets and makes the space feel less clinical.
Cost and payback matter too. A DIY under cabinet lighting installation typically runs $200–$800 depending on the system type and how many linear feet you’re covering. That’s a fraction of a professional kitchen remodel, yet the visual and functional impact rivals much pricier upgrades.
Choose the Right Under Cabinet Lighting Type
Your lighting choice depends on budget, desired brightness, and how much electrical work you’re willing to tackle.
Line-voltage systems run on standard 120V house current and deliver the brightest output. They require running a dedicated circuit (often requiring a permit) and hardwiring to your breaker panel. That means hiring a licensed electrician, unless you’re comfortable with electrical work and your local code permits it. Line-voltage fixtures are durable and long-lasting but demand proper installation.
Low-voltage systems (12V or 24V) run off a transformer that plugs into a standard outlet. This option is much easier to install, no breaker panel work, and is often code-friendly. The downside: slightly lower brightness and the visible transformer somewhere in your cabinet or under the sink.
Plug-in LED strips are the easiest entry point. They simply adhere to the underside of your cabinet and plug into an outlet. No wiring, no permit, no professional needed. The trade-off is brightness: they’re great for ambient lighting but may not provide enough task light over the entire countertop.
LED Strip Lights vs. Puck Lights
LED strip lights are continuous runs of diodes on an adhesive-backed tape or rigid channel. They provide even, seamless illumination and are excellent for accent lighting or soft task lighting. They’re compact, hide easily, and come in various color temperatures. Installation is straightforward: clean the cabinet undersurface, peel and stick, and connect the power. The main limitation is that lower-wattage strips may struggle to light a large work area with true task brightness.
Puck lights are individual, disc-shaped fixtures that mount in a line beneath your cabinets. Each puck is a focused light source, so they excel at task lighting over specific work zones (sink, stove, main prep area). They’re typically brighter than strip lights and look more intentional. Installation requires drilling mounting holes and often running wiring between units, which is more involved than adhesive strips but still DIY-friendly. Spacing matters: puck lights spaced 12–18 inches apart provide even coverage without dark gaps.
For most kitchens, puck lights win on brightness and task performance, while LED strips excel at ambient accent lighting. Many homeowners combine both: strips for soft overall glow, pucks for work zones. Popular options reviewed by experts, including reviews of the best under-cabinet lighting solutions, can help you narrow choices based on your cabinet style and budget.
Gather Your Tools and Materials
Before you begin, assemble everything you’ll need. Rushing out mid-project wastes time and kills momentum.
Materials (for a typical 10–12 ft. installation with LED puck lights):
• LED puck lights (6–8 units, depending on spacing: choose warm white, 3000K or below, and at least 350 lumens per puck for task lighting)
• Low-voltage transformer (if not included with lights: typically 60–100W capacity)
• Connecting wire (usually 12–14 gauge: often bundled with lights)
• Wire connectors or push terminals (already on most quality fixtures)
• Power cord (for plug-in connection to outlet)
• Mounting brackets or adhesive pads (comes with most puck kits)
• Painter’s tape (for marking layout)
• Small level (optional but helpful for centering lights)
Tools:
• Cordless drill (for pre-drilling pilot holes if mounting pucks with screws)
• 1/8″ or 3/16″ drill bit
• Tape measure (at least 16 feet)
• Pencil
• Screwdriver (Phillips and flathead, or just use your drill’s bits)
• Flashlight (working under cabinets gets dim)
• Wire strippers (if any hand-splicing is needed, though modern kits minimize this)
• Utility knife (to clean up adhesive or trim wire channels)
Safety gear:
• Safety glasses (dust and small debris fall when drilling)
• Work gloves (protect your hands from sharp cabinet edges and rough undersurfaces)
• Dust mask (if the cabinet underside is particularly dusty)
Installation Steps for Under Cabinet Lighting
Measuring, Planning, and Mounting
1. Turn off power to any existing under-cabinet outlets. If you’re replacing an older system, kill the breaker or unplug everything. Safety first.
2. Measure and mark your layout. Use a tape measure to find the center of the cabinet run you’re lighting. Mark it lightly with a pencil. For puck lights, divide the total length by the number of lights plus one. For example, a 10-foot run with 6 pucks means: 10 feet ÷ 7 = 1.4 feet (roughly 17 inches) between each center point. Adjust for symmetry, you want the first and last light equidistant from the cabinet ends.
3. Clean the mounting surface. Wipe down the underside of the cabinet with a damp cloth and let it dry completely. Remove dust, grease, and old adhesive residue. This step sounds tedious, but it’s critical: adhesive won’t hold on a dirty surface, and you don’t want lights sagging mid-project. For screw-mounted lights, use a light pressure to test the cabinet material: plywood and solid wood take screws well, but particle board or veneered cabinets may split. If in doubt, use adhesive pads.
4. Pre-drill pilot holes (if screw-mounting). Drill a pilot hole at each marked location using a 1/8″ bit. This prevents splitting and makes hand-driving easier. Keep holes slightly offset (⅜ inch to the side) from your center marks so mounting brackets don’t interfere with wiring channels.
5. Mount the lights. For adhesive-backed pucks, peel the backing and press firmly for 10–15 seconds: hold near the edges to avoid fingerprints on the lens. For screw-mounted lights, drive the screws slowly and stop before you over-tighten, which can crack the fixture body. Check with your small level to ensure each light points straight down (or at the angle recommended by the manufacturer).
Wiring and Power Connection
6. Connect the power supply. Most modern LED puck systems use push-terminal connectors (no wire stripping needed) or simple twist-connectors. Lay out the connecting wire between pucks, feeding it through the metal or plastic channel provided by the manufacturer. Leave some slack at each puck so wiring isn’t under tension.
If you’re hardwiring to a dedicated circuit (line-voltage), this is where you stop and call a licensed electrician unless you’re qualified. Local electrical code (NEC) governs kitchen circuits, and improper installation can cause fires or shock. Don’t skip this step: it’s not a place to learn on the job.
7. Connect the transformer (low-voltage systems). Most systems come with a transformer that steps down 120V to 12V or 24V. Place it in an accessible spot, inside a cabinet, behind a toe kick, or on a shelf. Plug the transformer into an outlet (preferably a GFCI-protected one for safety, which most modern kitchen outlets are). Connect the low-voltage wire from the transformer to your puck lights following the manufacturer’s diagram. Polarity matters: typically red goes to positive, black to negative. If lights don’t turn on, reverse the terminals and try again.
8. Test before final mounting. Turn on the transformer and check that all lights illuminate. If one doesn’t, check the connection at that puck and ensure the wire is fully seated. A loose connector is the most common culprit.
9. Hide the transformer and wire. Run the connecting wire along the back or inside edge of the cabinet, away from view. If using an under-sink mounting, route it to a corner outlet. Some people tie wire with velcro strips or small clamps to keep it tidy, but it’s less critical since the cabinet hides most of it.
10. Secure the power cord. Use velcro cable ties or adhesive-backed clips to keep the power cord off the floor or away from foot traffic. This prevents tripping and protects the cord from punctures. If the cord crosses an open area (say, to an island), consider a cord cover for safety and aesthetics.
Final Thoughts
Under cabinet lighting is one of the highest-impact upgrades you can do without major construction. It costs far less than new cabinets, new countertops, or a full remodel, yet it delivers immediate visual and functional gains.
The key to success is honest self-assessment: Do you feel comfortable with wiring, or should you hire an electrician for a hardwired system? Are you okay with a visible outlet, or do you want everything hidden? Once you answer those questions, the installation itself is straightforward. Take your time measuring and prepping surfaces, that’s where most problems start.
Resources like This Old House and Family Handyman offer additional tutorials and troubleshooting if you hit a snag. Your kitchen will thank you.