

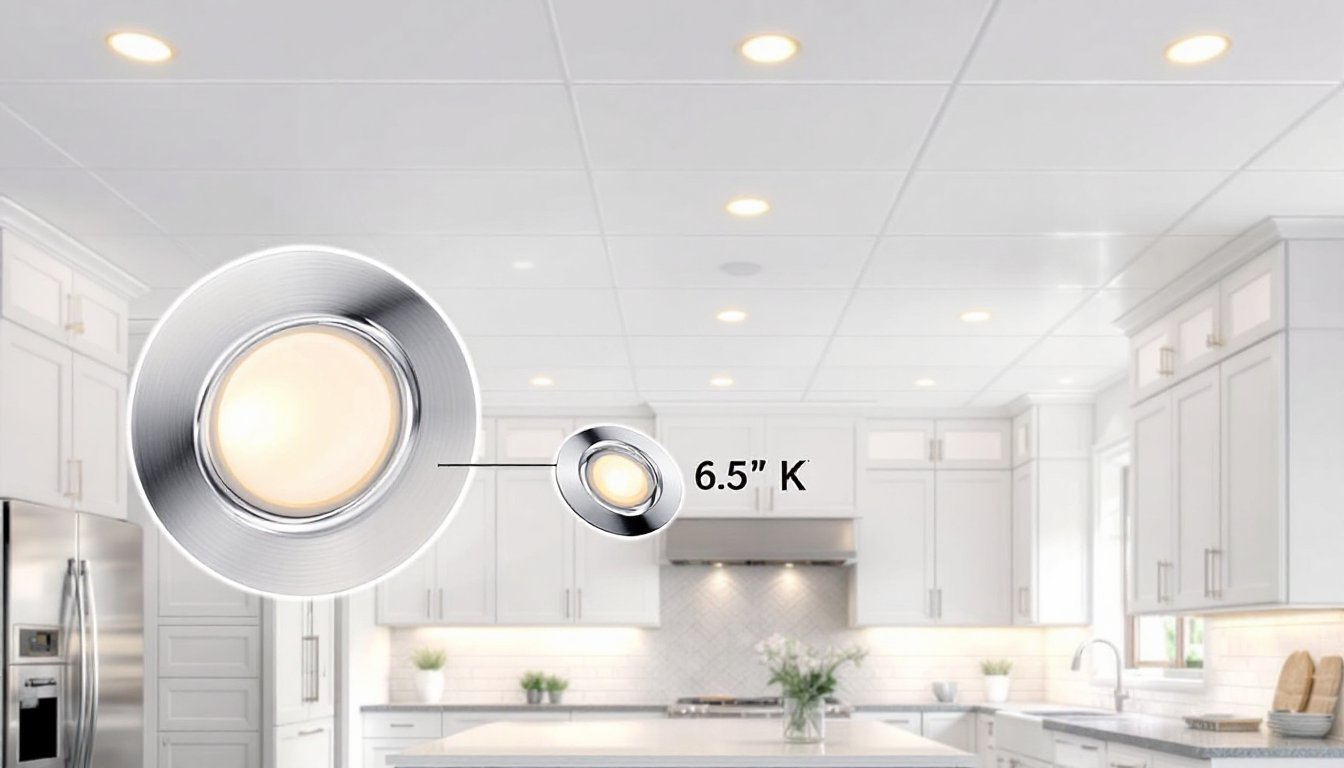

Eight-inch recessed lighting has become the go-to choice for homeowners modernizing kitchens, bathrooms, and living spaces. Unlike surface-mounted fixtures, these trim-ring cans sit flush with the ceiling, creating clean lines and directing light downward without visual clutter. Whether you’re updating a single room or planning a whole-house overhaul, understanding the fundamentals of 8-inch recessed lighting helps you make smart choices about type, placement, and installation. This guide walks you through what these fixtures are, when they work best, and how to install them correctly for lasting results.
Key Takeaways
- 8-inch recessed lighting provides bright, distributed illumination across larger areas with fewer fixtures, reducing installation labor and electrical work compared to smaller alternatives.
- LED 8-inch recessed lights consume 75–80% less energy than incandescent models and last 25,000–50,000 hours, making them a cost-effective and environmentally smart choice for modernized homes.
- Proper spacing and placement—typically 4–6 feet apart for ambient lighting—requires calculation based on room size and desired light levels, with online calculators helping you determine the exact number of fixtures needed.
- Choose between three trim styles (baffle for soft diffusion, reflector for brighter coverage, or open for maximum brightness) and ensure you select IC-rated housing if your 8-inch recessed lighting will be covered with attic insulation.
- DIY installation is feasible for replacing existing fixtures or unfinished ceilings, but new wiring runs and joist cutting require a licensed electrician to comply with building codes and prevent fire hazards.
- Layer your 8-inch recessed lighting with task and accent lighting like under-cabinet strips or pendants, and use smart dimmers to create flexible moods while minimizing dust buildup through regular gentle cleaning.
What Is 8-Inch Recessed Lighting?
An 8-inch recessed light is a fixture installed inside a cylindrical housing (the can) that sits above the drywall in your ceiling cavity. The 8-inch measurement refers to the diameter of the can itself, the largest standard size in residential installations. When trimmed and finished, the visible opening at the ceiling is smaller, typically 6.5 to 7 inches, giving a more finished appearance than smaller 4-inch or 6-inch options.
These fixtures consist of a few key parts: the housing can that anchors to ceiling joists or sits in ceiling cavities, a trim ring that frames the opening, and a light source (LED, halogen, or incandescent). The reflector inside the can directs light downward and outward, and baffle or dome trims reduce glare. Modern 8-inch cans come in two main types: IC-rated (insulation contact) if they’ll be covered with insulation in an attic, and non-IC if they’re in open ceilings or drop ceilings. Choosing the right type upfront prevents safety hazards and building code violations.
Key Benefits for Your Home
Eight-inch recessed lights deliver several practical advantages. First, they provide bright, distributed illumination, one 8-inch fixture can light a larger area than a smaller can, so you’ll need fewer units to achieve the same output. This reduces installation labor and electrical runs.
Second, they’re versatile. An 8-inch can accommodates standard-output LED bulbs rated 20–40 watts equivalent, giving you warm or cool color temperatures, dimmable options, and smart-home compatibility. Unlike smaller recessed lights that max out around 15 watts, an 8-inch fixture handles high-output bulbs without thermal stress.
Third, they’re energy-efficient. LED recessed lights consume 75–80% less energy than old incandescent models and run cool, reducing HVAC load in summer. A typical 8-inch LED recessed light uses 10–15 watts and lasts 25,000–50,000 hours.
Fourth, they look clean. Because the fixture sits flush inside the ceiling, your eye doesn’t catch a protruding fixture, just a trim ring and light. This aesthetic works in contemporary, farmhouse, and transitional styles alike. Finally, they’re durable and require minimal maintenance compared to hanging pendants or chandeliers.
Choosing the Right Type for Your Needs
Two main decisions shape your purchase: trim style and light source.
Trim Options control how light spreads and how much glare you see. A baffle trim has a ribbed or stepped interior that absorbs light, cutting glare and delivering softer, diffused illumination, ideal for bedrooms and dining areas. A reflector (or smooth) trim bounces light outward for brighter, more even coverage in kitchens and hallways. An open trim has minimal obstruction, maximizing brightness but increasing glare, best for task-heavy spaces like garages or workshops. Dome or lens trims sit slightly below the ceiling line and diffuse light, creating a softer look.
Light Sources come in three types. LED is the modern standard: energy-efficient, dimmable, long-lasting, and available in 2700K (warm white) through 5000K (daylight). Most homeowners go LED for new work. Halogen is older but still available, brighter and warmer than incandescent, but hotter and less efficient: avoid in new builds unless required. Incandescent is now rarely seen in new fixtures due to efficiency, but you’ll encounter them in older homes.
When sizing, check your can’s voltage and wattage rating, typically found on a label inside. Most residential cans are 120-volt and rated for bulbs up to 50 watts (incandescent equivalent). LED bulbs often run 10–15 watts for the same output.
Installation Basics for DIY Projects
Installing recessed lighting yourself is feasible if your ceiling is unfinished (like a basement or remodel) or if you’re replacing existing fixtures. But, if you need to cut new holes in drywall or run electrical from a breaker panel, hire a licensed electrician. Local building codes may require permits and inspections for new circuits.
What You’ll Need:
• 8-inch recessed light housing kit (IC or non-IC, as appropriate)
• Trim ring of your choice
• LED bulb(s) rated for your fixture
• Drywall saw or hole saw (8.5-inch diameter for 8-inch cans)
• Stud finder
• Screwdrivers (Phillips and flat-head)
• Wire strippers and a voltage tester
• Work gloves and safety glasses
Basic Steps (assuming power is off and circuit is available):
- Mark the location. Use a stud finder to avoid hitting joists directly: position the can 12–18 inches from the nearest joist. Mark the center with a pencil.
- Cut the opening. A drywall or hole saw makes a clean 8.5-inch hole. Work slowly to avoid crumbling drywall edges.
- Insert the housing. Slide the can up through the hole, then secure it to the joist or ceiling framing with nails or clips (most cans come with adjustable flanges).
- Run wiring. Thread electrical wire (typically 14-2 or 12-2 NM cable, depending on circuit amperage) to each can, connecting to a junction box or existing circuit. Always test with a voltage tester before touching live wires.
- Connect the socket. Attach the internal socket (or connection block) following the fixture’s wiring diagram. Strip ½ inch of insulation from each wire, twist connections together, and secure with wire nuts.
- Insulate (if IC-rated). If your can is IC-rated and you’re in an attic with insulation, ensure insulation doesn’t touch the can: IC cans can handle incidental contact, but air gaps are safer.
- Install the trim ring. Once the housing is secured and wiring is complete, push the trim ring up from below, seating it against the drywall.
- Install the bulb. Screw in your LED bulb, switch on the breaker, and test.
If running new wiring from the main panel or cutting joists, stop and call a professional. Electrical mistakes are fire hazards.
Design and Placement Tips
Proper placement makes the difference between a well-lit room and one with shadows or harsh glare.
Spacing: A general rule is to space 8-inch lights 4–6 feet apart for ambient lighting, though this varies by room size and desired brightness. Use online recessed lighting calculators (enter room dimensions and your desired light level in foot-candles) to dial in the count. A kitchen might need 30–40 foot-candles for task work, while a living room might need 15–20.
Avoid lines and clusters. Don’t march lights in a straight line unless the room has an obvious architectural grid. Stagger them for visual interest. Avoid centering all lights in the middle of the ceiling: push some toward walls to reduce shadows in corners.
Height and geometry matter. Eight-inch cans produce a wider beam spread than smaller fixtures, so they work well in rooms with 8–10-foot ceilings. In vaulted or cathedral ceilings, position them lower on the slope to avoid casting light upward into the peak. In kitchens, align recessed lights with cabinet edges or counter corners, not floating above empty space.
Layering: Don’t rely on recessed lights alone. Layer with under-cabinet task lighting, pendant lights over an island, or wall sconces to create depth and flexibility. Smart dimmers let you adjust recessed lights for different moods and activities. Comprehensive guides on recessed lighting selection emphasize the importance of assessing beam spread and light distribution patterns to ensure proper coverage for your space.
Bathroom and bedroom caution: In humid bathrooms, choose IC-rated, moisture-resistant cans to prevent mold in insulation. In bedrooms, position lights to avoid shining directly into eyes when lying down: angle slightly or use baffles to soften downlight.
Maintenance and Troubleshooting
Recessed lights are low-maintenance, but a few issues crop up.
Dust and dimming: LED bulbs and reflectors collect dust over months or years, reducing brightness. Every 6–12 months, turn off the breaker, let the fixture cool, and gently wipe the reflector and bulb with a soft, dry cloth. Avoid touching the LED bulb surface with bare fingers (oils cause hot spots and premature failure).
Flickering or non-response: If a light flickers or won’t turn on, first replace the bulb, a dead or mismatched LED is the usual culprit. If that doesn’t help, check that the bulb is dimmable if you’re using a dimmer switch (non-dimmable LEDs can’t work with dimmers). A third cause is a loose connection at the socket or junction box: if you’re comfortable, flip the breaker and gently reseat wire connections. For persistent issues, the internal ballast (transformer in some LED fixtures) may be failing, replace the entire can assembly.
Thermal issues: An 8-inch can shouldn’t get too hot in normal use, but if you notice the bulb feeling very warm or the trim ring discoloring, check that you haven’t exceeded the wattage rating or blocked ventilation. IC-rated cans can tolerate some insulation contact, but ensure air flow around the fixture.
Air leaks: Recessed cans can be thermal leak points in cold climates. Look for frost patterns around trim rings in winter, a sign of warm interior air escaping. Seal gaps around the housing with spray foam or caulk from the attic side (if accessible) to reduce energy loss. Modern fixture kits often include gaskets to minimize air infiltration. Professional installation guidance from reputable sources emphasizes the importance of proper sealing and thermal management.
Conclusion
Eight-inch recessed lighting is a smart, durable investment that modernizes any home when chosen and installed thoughtfully. The key is matching the trim style and light source to your space, spacing fixtures for even coverage, and following electrical codes during installation. Whether you’re tackling a DIY retrofit or hiring a pro for the wiring, starting with a solid plan, measuring your room, calculating light needs, and marking locations, ensures results you’ll enjoy for decades. Take time on the prep work: most lighting regrets come from rushing placement, not the fixtures themselves.