

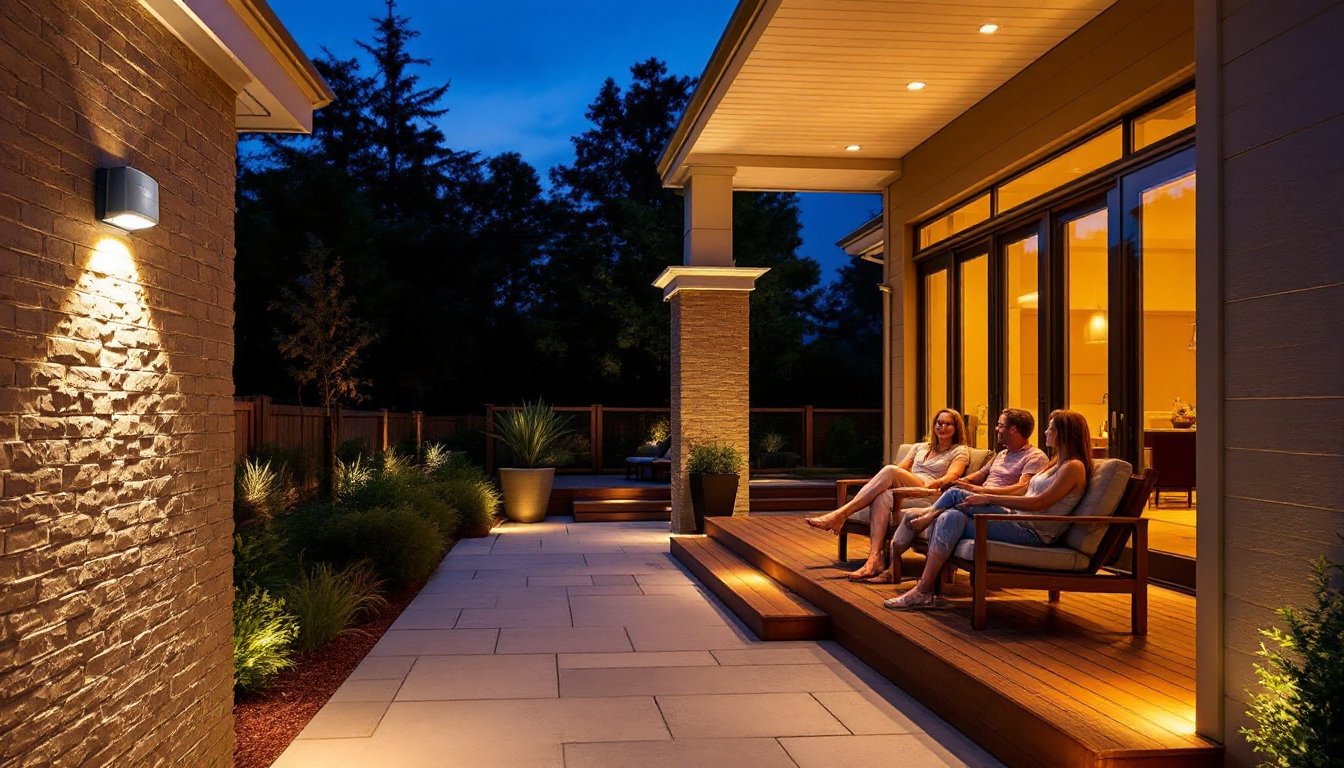

Outdoor lighting doesn’t have to be all-or-nothing anymore. Dimmable light sensors bring intelligence to your yard, automatically adjusting brightness based on natural daylight and motion while cutting energy waste. Whether you’re lighting a patio, driveway, or garden path, a dimmable light sensor transforms how your outdoor spaces function, day and night. This guide walks you through what they are, how they work, and how to choose and install the right system for your property.
Key Takeaways
- Dimmable light sensors automatically adjust outdoor brightness based on ambient light and motion, reducing energy consumption by 30–50% compared to traditional on-off photocells.
- A dimmable light sensor works by measuring ambient light intensity with a photoresistor or photodiode, then sending proportional dimming signals to LED drivers or dimmer modules without user input.
- Dimmable light sensors are most effective when paired with LED fixtures rated for 0–10V or PWM dimming; older halogen and incandescent bulbs cannot dim smoothly and should be replaced.
- DIY installation requires turning off power, assessing fixture compatibility, correctly wiring the three-wire sensor, and mounting it with an unobstructed sky view to prevent false dimming signals.
- Motion-integrated and smart dimmable sensors ($50–150+) offer advanced features like adaptive brightness during activity and remote adjustment, while basic wired models ($30–60) provide simple, reliable dimming without added complexity.
- Proper sensor placement and weatherproofing (IP65 rating and silicone sealing) are critical to prevent false dawn signals and water infiltration in outdoor installations.
What Are Dimmable Light Sensors?
A dimmable light sensor is a control device that dims or brightens outdoor lights based on ambient light levels, and sometimes motion. Unlike simple on-off photocells (which have been around for decades), dimmable sensors offer gradual brightness adjustments, creating a more natural lighting experience while reducing unnecessary energy consumption.
These sensors sit between your light fixture and power source, reading environmental conditions and sending signals to LED drivers or dimmer modules. When dusk falls, the sensor gradually ramps up brightness. As dawn approaches, it dims down. Some models also integrate motion detection, boosting brightness when movement is detected and dropping back to ambient levels during quiet periods.
They’re particularly useful in spaces where lighting needs change throughout the evening, a deck might need full brightness for entertaining at 8 PM but only a subtle glow at midnight for safety and ambiance. Unlike traditional photocells that simply turn lights on when dark and off when light returns, dimmable sensors give you continuous, proportional control.
Key Benefits For Homeowners
The main advantage is energy savings. Outdoor lights left on full brightness all night waste power, especially if you’re using older halogen or incandescent fixtures. A dimmable sensor can reduce consumption by 30–50% depending on usage patterns and how aggressively you set dimming curves. LED fixtures paired with dimming sensors deliver the biggest savings.
Second, dimmable sensors improve safety and convenience without constant manual adjustment. You don’t juggle wall switches or smart-home apps to set different brightness levels for different times. The sensor learns and adapts, handling transitions automatically. Many homeowners appreciate this “set it and forget it” approach, especially on seasonal changes when sunset times shift by up to two hours.
Third is ambiance. Full-brightness security lighting feels harsh. A dimmable sensor can provide softer, layered lighting, bright enough for task areas, subtle in sitting zones, adjusting as the evening progresses. Guests notice the difference, and so does your home’s curb appeal. Finally, dimmable sensors future-proof your outdoor lighting, supporting both traditional and smart home ecosystems with minimal rewiring.
How Dimmable Light Sensors Work
A dimmable light sensor operates on two core principles: measuring ambient light intensity and communicating brightness commands to the load (your fixture). The sensor contains a light-sensitive semiconductor, typically a photoresistor or photodiode, that produces a varying electrical signal as light levels change. This signal goes through an onboard microcontroller that compares it against factory-set or user-adjustable thresholds.
Once the ambient light drops below your chosen threshold (say, 50 lux, which is about twilight level), the sensor begins dimming the light proportionally. If it’s set to dim at 50%, the output will be half brightness: at 20%, a quarter brightness. The relationship is usually non-linear, meaning the sensor doesn’t simply cut brightness in half at dusk, it uses a curve that preserves visibility at lower settings.
Output methods vary. Some sensors control a traditional 0–10V dimmer relay (common in commercial and upscale residential systems), while others use PWM (pulse-width modulation) to modulate LED drivers. Newer models support wireless protocols like Zigbee or Z-Wave, enabling integration with smart-home hubs. Regardless of method, the result is smooth, automatic brightness adjustment without user input.
Photocell Technology And Motion Detection
Photocells detect light by measuring electrical resistance, which changes with illumination. In a dimmable sensor, this resistance is read continuously, producing a smooth voltage curve rather than a simple on-off signal. This analog-to-digital conversion allows the sensor to dim gradually.
Motion detection layers a second function. An infrared or microwave sensor detects movement and signals the controller to brighten the light or keep it at a higher level when activity is detected. Once motion stops, a timer (usually 1–10 minutes, adjustable) counts down before the sensor resumes its normal dimming curve. This is invaluable for security and convenience, you get bright light when someone approaches, then energy savings when the area is quiet.
Installation Tips For DIY Enthusiasts
Most dimmable light sensors are designed for retrofit installation, no rewiring of your entire outdoor circuit required. That said, the specific process depends on your current setup and the sensor type.
Step 1: Turn off power. Kill the circuit breaker that feeds your outdoor lighting. Use a non-contact voltage tester to confirm the power is off. This is non-negotiable for safety.
Step 2: Assess your current light. Is it a simple on-off photocell mount? A dimmer-compatible fixture? A smart bulb? Dimmable sensors work best with LED fixtures rated for 0–10V or PWM dimming. If you’re using old PAR38 or PAR56 halogen bulbs, you’ll need to upgrade to dimmable LEDs first, halogen fixtures can’t dim proportionally with sensors and waste significant heat.
Step 3: Choose your sensor and control method. For simple retrofit, look for a wall-mounted dimmable photocell with motion sensor (around $40–80). These typically clip or screw into an existing photocell housing or attach to a junction box. For more control, a wireless smart sensor ($60–150) connects to a hub and mobile app, letting you override dimming schedules seasonally.
Step 4: Wire the sensor. Most dimmable photocells have three terminals: line (hot), load (to fixture), and neutral. Match these to your existing wiring. If your fixture currently has a simple on-off photocell, you’re usually replacing a two-wire unit with a three- or four-wire dimmer sensor. Read the sensor’s spec sheet carefully, mixing up line and load will fail the install.
Step 5: Mount and seal. Position the sensor where it has an unobstructed view of the sky (not under eaves or blocked by trees, false dawn signals cause poor dimming). Use a silicone sealant around the base to prevent water infiltration. Most dimmable sensors are IP65 rated (weather-sealed), but poor mounting defeats this protection.
Tools you’ll need: Non-contact voltage tester, screwdrivers (flathead and Phillips), wire strippers, electrical tape, possibly a small level. Many modern sensors are tool-free to install: others require basic hand tools.
When to call a pro: If your outdoor circuit lacks a neutral wire (older installations sometimes ran just line and load), if you need to add a new circuit, or if structural work, like running conduit through fascia, is required, hire a licensed electrician. Permits also apply: check your local code.
Choosing The Right Sensor For Your Outdoor Space
Dimmable light sensors come in several flavors. A basic wired photocell sensor ($30–60) is the simplest retrofit, no batteries, no hub, just three wires. It dims based solely on light level and is highly reliable but can’t be adjusted remotely.
A motion-integrated dimmable sensor ($50–100) adds PIR (passive infrared) detection, brightening when movement is sensed. These are excellent for security-conscious entries and driveways where you want active zones bright and background areas dimmed.
Smart, connected sensors ($75–150+) integrate with platforms like Amazon Alexa, Google Home, or Zigbee ecosystems. You adjust dimming curves and thresholds from your phone, and some models geofence, knowing when you’re near and adjusting lighting preemptively. They’re pricier but offer flexibility.
Consider your fixture type too. LED fixtures with built-in dimming compatibility (marked 0–10V dimmable or PWM compatible) work seamlessly. Older incandescent or halogen fixtures cannot dim smoothly with sensors and should be replaced with dimmable LEDs. A recent buying guide from smart home experts compares top-rated outdoor dimming sensors and light combinations, helping you match products.
Think about location and coverage. A single sensor works for small patios or decks. Larger yards with multiple zones might need two sensors on separate circuits, one for entry/driveway, another for ambient deck lighting. Front-facing sensors also need protection from direct morning sun (early sunlight hitting the photocell can cause false dimming).
Finally, check warranty and build quality. Outdoor sensors endure UV, temperature swings (–10°F to 140°F is typical), and moisture. Look for polycarbonate or aluminum housings rather than plastic, and confirm the connector type matches your fixture (most use standard GFCI-rated terminals).
Conclusion
Dimmable light sensors transform outdoor lighting from a one-size-fits-all utility into a responsive system that adapts to natural rhythms and activity. They’re straightforward to install for homeowners with basic electrical comfort, deliver real energy savings, and enhance both security and ambiance. Whether you start with a simple retrofit photocell or invest in a smart-connected system, you’re making a smart upgrade that pays dividends in lower bills and better lighting control for years to come.