

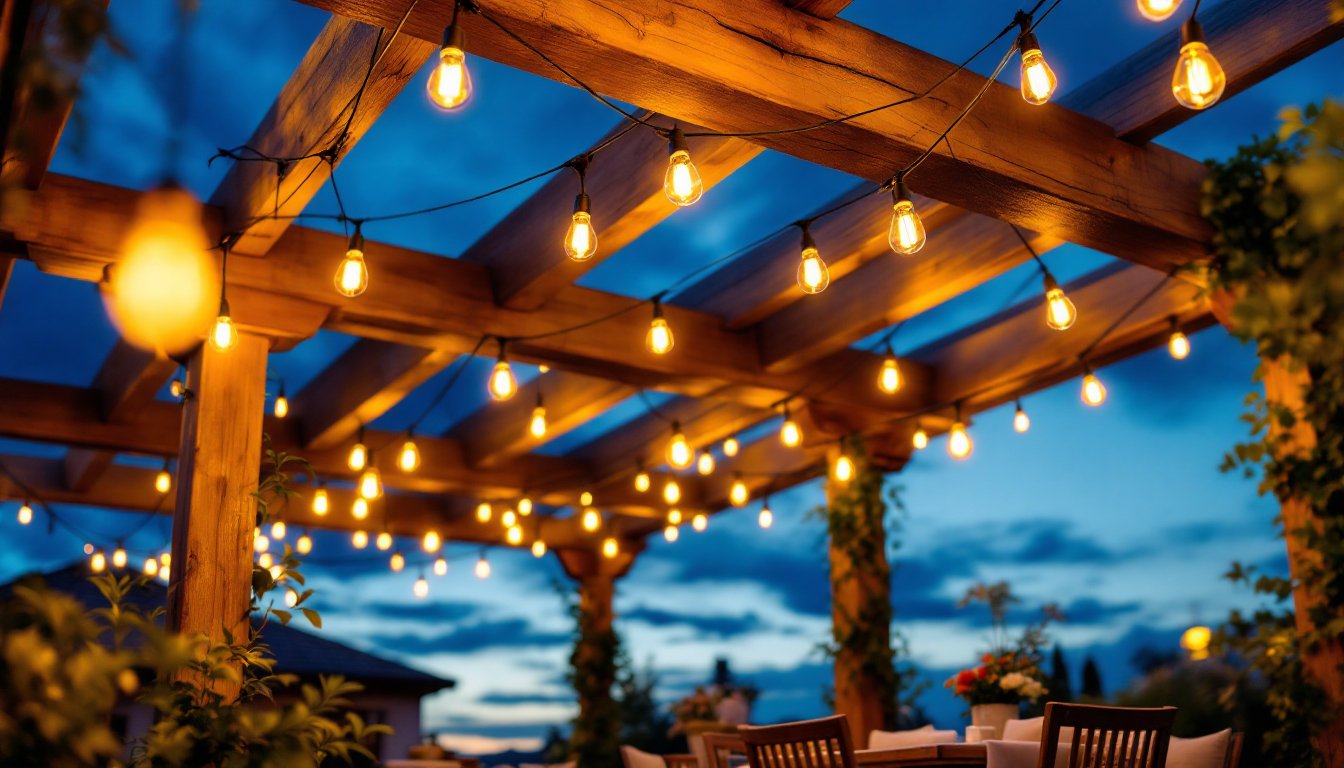

A well-lit pergola transforms a backyard from a forgotten corner into an outdoor room that you’ll actually use after sunset. Whether you’re hosting a dinner party or simply unwinding with a book, the right pergola lighting changes everything, setting the mood while extending your outdoor living season. The good news: adding outdoor pergola lighting doesn’t require an electrician or a huge budget, though knowing your options and electrical basics will save you money and headaches. This guide walks you through the types of lighting available, what works for your space, and how to install it safely.
Key Takeaways
- Outdoor pergola lighting extends your usable outdoor hours after sunset, creates ambiance for entertaining, and adds measurable property value while improving safety.
- String lights are the easiest DIY option for pergola lighting, costing $30–150 per set and requiring only a ladder, eye bolts, and cable clips for installation.
- For ambiance-focused spaces, choose warm white lights at 2700K, but select cooler 4000K–5000K lighting for task-oriented areas like cooking or reading zones.
- Hardwired recessed and track lighting systems require professional installation, permits, proper 12-gauge or 10-gauge wiring, and GFCI protection to meet electrical codes and prevent safety hazards.
- Solar and battery-powered pergola lighting options offer low-voltage convenience with zero wiring complexity, though plug-in LED versions provide more reliable brightness in cloudy climates.
- Always use outdoor-rated fixtures with corrosion-resistant hardware, seal junction boxes properly, and never use indoor-rated lights outdoors to prevent failure and electrical hazards.
Why Pergola Lighting Transforms Your Outdoor Space
A pergola without lighting is essentially invisible after dusk. Add lights, and suddenly that structure becomes a destination. Pergola lighting extends your usable outdoor hours, creates ambiance that makes entertaining easier, and adds genuine property value, studies show outdoor living spaces rank high among homebuyer priorities.
Beyond aesthetics, lighting makes your pergola safer. You won’t stumble over planters or furniture, and guests can navigate paths without tripping. Proper lighting also deters unwanted wildlife and creates the psychological comfort of a well-defined outdoor room.
The best part? Pergola lighting doesn’t demand a permanent electrical install. You have options ranging from battery-powered string lights to hardwired systems, so you can start simple and upgrade later as your comfort level grows. Ideas for outdoor living spaces often emphasize how lighting anchors a design, making it functional and inviting year-round.
Types of Pergola Lighting Options to Consider
String Lights and Café-Style Fixtures
String lights are the entry point for most DIYers, easy to install, affordable, and instantly charming. Warm white LED string lights (typically 2700K color temperature) mimic incandescent bulbs and create that classic café vibe. You’ll find solar-powered options, battery-powered sets, and plug-in versions. Solar lights are maintenance-free but dimmer: plug-in versions are brighter and more reliable.
Café-style bistro lights use larger bulbs spaced further apart than thin string lights, giving a more deliberate, upscale look. They’re heavier, so you’ll need sturdy attachment points, pergola beams or cables strung between posts work well. Plan on roughly 15–20 feet of string lights for a standard 10×12 pergola, depending on how densely you want to drape them.
String lights don’t require permits (they’re low-voltage), but check that solar or battery versions are rated for outdoor use and won’t degrade in your climate.
Recessed and Track Lighting Systems
Recessed lights give a cleaner, more modern look because the fixture sits flush with the pergola structure. These require drilling into beams or mounting inside a soffit, so they’re a step above string light installation. Track lighting lets you aim beams where you want them, useful for highlighting plants, washing light across a dining area, or creating dramatic shadow effects.
Both recessed and track lights need wiring, typically 12-gauge or 10-gauge depending on load and circuit length. This is where you may want professional help unless you’re comfortable running wire through outdoor conduit and connecting to a dedicated circuit. Home improvement guides often cover wiring basics, but outdoor electrical work falls under building codes that vary by jurisdiction, some require a licensed electrician for anything hardwired.
Choosing the Right Lighting for Your Style and Needs
Start by asking three questions: What’s your climate? How bright do you need it? And how much upfront work are you willing to do?
If you live somewhere with reliable sunshine and you don’t mind slightly dimmer lighting, solar string lights offer zero wiring hassle and low cost ($30–80 per set). In climates with lots of cloud cover or short daylight hours, a plug-in LED option is more reliable, you’ll get consistent brightness every night and can adjust intensity if the fixture has a dimmer.
For ambiance-focused designs (dinner tables, lounging areas), warm white or amber lights at 2700K work best. If you’re using the pergola as a workspace or need task lighting (reading, cooking prep), go cooler, 4000K or 5000K white light improves visibility.
Style-wise, bistro lights and vintage Edison bulbs suit traditional or eclectic yards. Modern spaces often pair better with clean-lined track lights or minimalist recessed fixtures. Southern Living’s porch and outdoor ideas showcase how lighting complements regional architecture, a farmhouse pergola reads differently lit than a mid-century modern structure.
Budget matters too. String lights run $30–150 for a decent set. Recessed or track systems range from $300–1500+ installed, depending on wiring complexity and fixture quality. If you’re DIY-installing, your main cost is materials: if hiring an electrician, labor often exceeds parts.
Installation Basics: DIY vs. Professional Setup
String lights are the most forgiving DIY project. You’ll need a ladder, cable clips or eye bolts, wire ties, and roughly 30 minutes. Screw eye bolts into pergola beams or posts, clip the string light wire to them using stainless steel clips (prevents rust staining), and drape the string. For solar versions, position the panel where it gets full sun. For plug-in models, run the cord to your nearest outlet via weatherproof conduit or along the house: use a GFCI-protected outlet (ground-fault circuit interrupter) since you’re outdoors.
Recessed and track lights demand more. You’ll drill holes into beams (messy if they’re pressure-treated lumber, wear a dust mask), run electrical conduit, and wire fixtures into a circuit. Unless you’re comfortable with basic electrical work, hire a licensed electrician. Most jurisdictions require permits for new outdoor circuits, and codes specify wire gauge, conduit type, and grounding requirements. Skipping this creates fire and shock hazards.
Whatever you install, secure connections and keep water out. Use corrosion-resistant hardware (stainless steel or galvanized), seal junction boxes, and ensure lights are rated for wet locations. Do not use indoor-rated fixtures outdoors, they’ll fail or worse.
Power and Electrical Considerations
Low-voltage string lights (solar or battery-powered) sidestep electrical headaches, they’re safe and require zero wiring expertise. High-voltage (standard 120V household) hardwired lights demand respect.
If you’re running outdoor circuits, use 12-gauge or 10-gauge wire in weatherproof conduit, never bury Romex (NM cable) outdoors without conduit protection. The National Electrical Code (NEC) requires GFCI protection on all outdoor outlets. A 20-amp GFCI breaker on your main panel protects the entire circuit.
For a pergola 50+ feet from your house, voltage drop becomes an issue, lights dim as wire length increases. Your electrician can size wire appropriately or recommend low-voltage transformer systems (which step down 120V to 12V), solving the distance problem.
Planning? Run conduit during construction if possible. Retrofitting is messier and more expensive. If you’re not confident in your electrical knowledge, don’t guess, call a professional. A $200–400 inspection and setup fee is cheap compared to a fire or electrocution.