

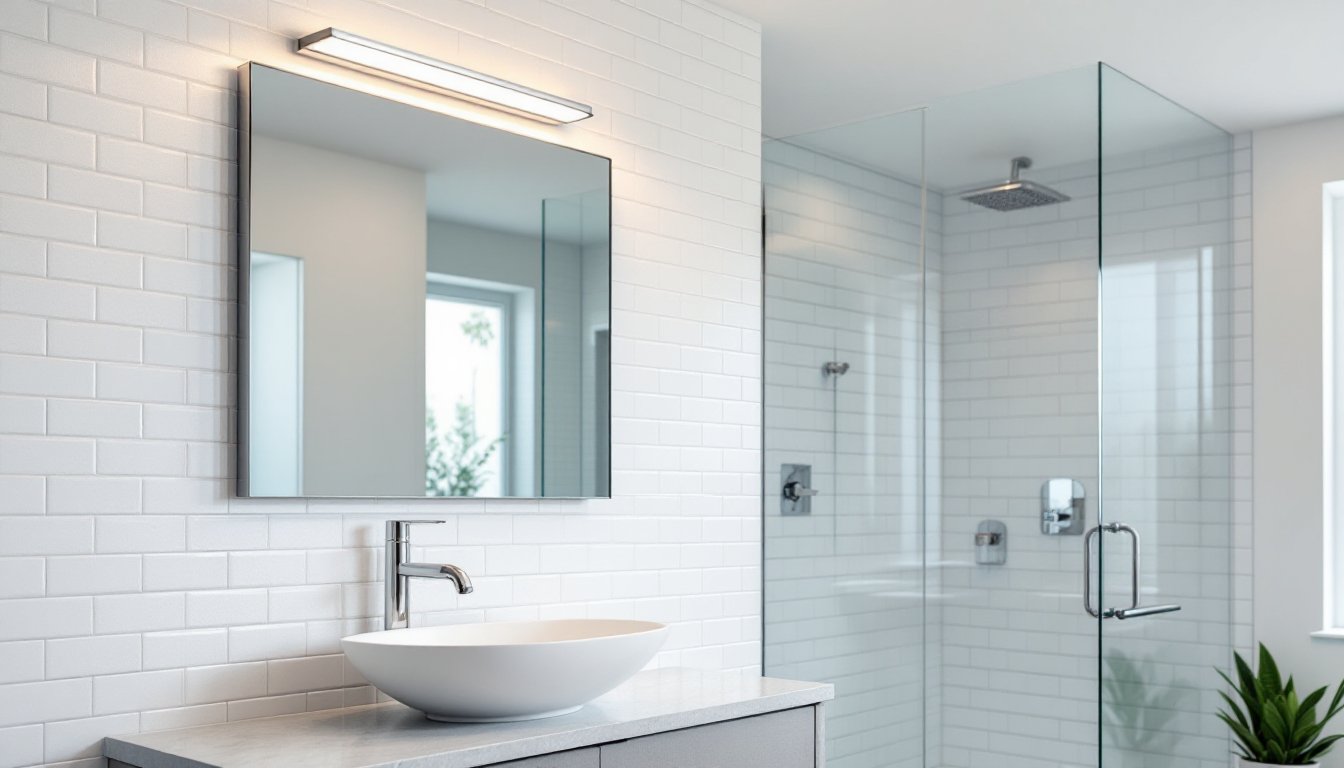

Bathroom lighting often gets overlooked until you’re brushing your teeth in shadows or squinting at yourself in the mirror. The reality is that ceiling bathroom lighting does far more than illuminate, it sets the mood, affects how you look, and influences the entire feel of your space. Whether you’re renovating a master bath or updating a powder room, choosing and installing the right ceiling fixture can be a rewarding weekend project that makes a measurable difference in daily life. The good news: you don’t need a contractor’s budget or an electrician’s license for most installations.
Key Takeaways
- Ceiling bathroom lighting should provide 75–100 lumens per square foot with a color temperature of 3,000K to 4,000K for flattering, functional illumination during grooming tasks.
- LED fixtures are the modern standard, lasting 25,000+ hours and reducing energy consumption by 75% compared to incandescent bulbs while minimizing condensation in humid bathrooms.
- Surface-mount and semi-flush ceiling fixtures are ideal DIY options for standard bathrooms, while recessed lighting requires more involved installation and may warrant hiring a professional electrician.
- Proper wiring safety is critical—always turn off power at the breaker, use a voltage tester to confirm circuits are dead, and consult building codes, as some electrical work requires permits.
- Choose bathroom ceiling lights with IP44 or IP65 moisture ratings, damp or wet-rated designations, and durable finishes like stainless steel or powder-coating to withstand humidity and ensure long-term performance.
- Dimmable ceiling bathroom lighting fixtures give you flexibility to adjust task lighting for morning routines and softer ambiance for evening relaxation, but ensure compatibility with quality LED-rated dimmers.
Why Ceiling Lighting Matters In Bathroom Design
Good bathroom lighting serves multiple purposes at once. It needs to provide enough light for grooming tasks, shaving, makeup application, skincare routines, without casting harsh shadows or causing glare on the mirror. It also sets the ambiance for a relaxing bath or shower, and in many cases, it’s the primary light source in a moisture-heavy environment where fixtures face real durability demands.
Ceiling-mounted lights are practical because they’re centrally positioned and out of the way. Unlike wall sconces or under-mirror strips, ceiling fixtures don’t eat up wall space or require plumbing/electrical rerouting around vanities. They also spread light more evenly across the entire room, reducing dark corners and creating a sense of openness.
The challenge is matching brightness, color temperature, and style to your needs. A fixture that looks great in a showroom might feel too harsh over the sink or cast unflattering shadows when you’re getting ready. That’s why understanding your options upfront saves frustration and keeps you from replacing a pricey fixture six months later.
Types Of Ceiling Bathroom Lights To Consider
Flush Mount And Semi-Flush Options
Flush mount fixtures sit almost flat against the ceiling, making them ideal for bathrooms with standard 8-foot ceilings or lower. They’re budget-friendly, come in hundreds of styles (from modern to traditional), and install directly to the ceiling electrical box with minimal depth required.
Semi-flush mounts hang down 4–8 inches, giving a bit more visual interest and better light diffusion than a flat fixture. They work well in larger bathrooms or those with vaulted ceilings. Both types accommodate incandescent, CFL, or LED bulbs, though LED is the modern default for efficiency and heat output (important in a humid bathroom).
The trade-off: neither type is adjustable once installed. You choose the look and brightness upfront. If you discover the light is too dim or the color temperature too warm, you’ll need to swap the bulb or the entire fixture.
Recessed Lighting And Integrated Solutions
Recessed (can) lights sit inside the ceiling, offering a sleek, built-in appearance. They’re excellent for creating layered lighting, install multiple cans in a line over the vanity or spread across the ceiling for even illumination. Recessed fixtures do require cutting holes in your ceiling and may need insulation work above, so they’re more involved than surface-mounted options.
Integrated solutions like illuminated exhaust fans combine ventilation, lighting, and sometimes heating in one fixture. These are practical if you’re replacing an old exhaust fan and want to modernize the light at the same time. They save a ceiling box and simplify wiring.
For guidance on installing flattering bathroom lighting, consider layering recessed cans with a central flush mount. This approach gives you task light directly over work areas plus ambient light for the whole room. LED-compatible recessed trims are standard now, and they fit existing rough-in housings from older installations.
Brightness And Lumens: Getting The Right Light Level
Forget watts, they’re outdated. Lumens measure actual light output, and that’s what matters. A typical bathroom calls for 75–100 lumens per square foot of floor area. For a 5×8 bathroom, that’s roughly 3,000–4,000 total lumens.
Break that down: 1,500–2,000 lumens from a central ceiling fixture is standard. If you add recessed lights or a vanity strip, you can dial back the main fixture slightly. Many modern LED fixtures list lumens right on the box or in the product specs.
Color temperature (measured in Kelvin) also matters. Aim for 3,000K to 4,000K in bathrooms, this range feels neutral to slightly cool without looking cold or clinical. Anything under 2,700K feels yellowish and flattering but can be too dim for detailed grooming. Over 5,000K starts looking like office lighting, which most people find harsh in a bathroom.
Dimmable fixtures give you flexibility. A dimmer lets you set task lighting for morning routines and softer light for evening wind-downs. Make sure your fixture is explicitly dimmer-compatible, not all LED fixtures work smoothly with standard dimmers. Pair it with a quality dimmer rated for LED loads to avoid flickering.
Installation Tips For DIY Bathroom Lighting Projects
Safety first: Turn off power at the breaker before touching any wiring. Use a non-contact voltage tester to confirm the circuit is dead, don’t rely on flipping a wall switch alone. Wear safety glasses to protect from dust and debris falling from above.
Material prep is half the battle. Most bathrooms have a standard ceiling electrical box (round or rectangular) already in place. If not, you may need to add one, this requires cutting a hole, securing a new box to a joist or crossbar, and running wire (or having an electrician do it). Check your local building codes: electrical work sometimes requires permits in residential settings.
Before installation:
- Gather your fixture, mounting bracket, wire connectors, and a step stool or ladder.
- Read the manufacturer’s instructions, every fixture is slightly different.
- If replacing an old light, disconnect the old wiring by untwisting wire connectors. Label or photograph which wire is which (black to black, white to white, ground to ground).
Step-by-step:
- Mount the bracket to the electrical box using the provided screws.
- Connect wires: black (hot) to black, white (neutral) to white, and bare copper (ground) to ground or green.
- Twist connectors clockwise and cover with wire caps if needed.
- Carefully tuck wires into the box and slide the fixture’s canopy up to the ceiling.
- Secure the canopy and install the trim ring or glass cover.
- Restore power and test.
If you’re unsure about any wiring step, stop and call a licensed electrician. Bathroom circuits carry 20 amps, and mistakes can cause fire or shock hazards. For DIY repair tutorials and home improvement guides, reference trusted sources for your specific fixture type before starting.
Recessed lighting is more demanding. You’ll need a drywall saw to cut holes (get the diameter right for your fixture housing), secure the housing to a joist or brace, and fish wire through the ceiling. Many DIYers tackle this, but it’s slower and messier than a surface-mount. If your ceiling has asbestos insulation or you’re unsure about joists, hire a pro.
Choosing Energy-Efficient And Durable Fixtures
LED fixtures have become the standard for good reason. They last 25,000+ hours (10+ years of typical use), run cooler, and cut energy consumption by 75% compared to old incandescent or halogen bulbs. In a moisture-rich bathroom, that cooler operation also reduces condensation on glass covers.
Look for these features:
- IP44 or IP65 rating for moisture protection (required in most building codes for bathroom fixtures).
- Frosted or diffused glass or acrylic to soften light and reduce glare.
- Integrated LED (built-in) or LED-compatible (accepts LED bulbs), both work: integrated LEDs are sealed and last longer but can’t be swapped out if they fail.
- Damp-rated or wet-rated designation on the label, this is critical if the fixture is near a shower.
Stainless steel or powder-coated finishes resist rust better than bare metal in humid environments. Avoid cheap chrome plating that peels over time. Premium fixtures from established makers cost more upfront but hold their finish and brightness longer.
For advanced construction and building science guidance, research fixture-specific reviews and installation details before buying. A $40 fixture from a big-box store might work fine, but comparing specs (lumens, color rendering index, warranty) against a $120 option from a lighting specialist often reveals why one outperforms the other after a few years.
Check the warranty. Reputable brands offer 3–5 year coverage on fixtures and driver electronics (the component that converts line voltage to low-voltage LED power). Cheap imports might offer none.
Final Thoughts
Ceiling bathroom lighting is one of those projects where small decisions, lumens, color temperature, fixture depth, mounting style, add up to either a genuinely useful upgrade or a frustration. Take time to measure your space, understand your light needs, and choose a fixture that balances durability, efficiency, and style.
If you’re comfortable with basic wiring, a surface-mount fixture is a satisfying DIY win. If recessed or complex wiring is involved, bringing in a licensed electrician is worth it. Either way, you’ll notice the difference the moment you step into a well-lit, flattering bathroom.