

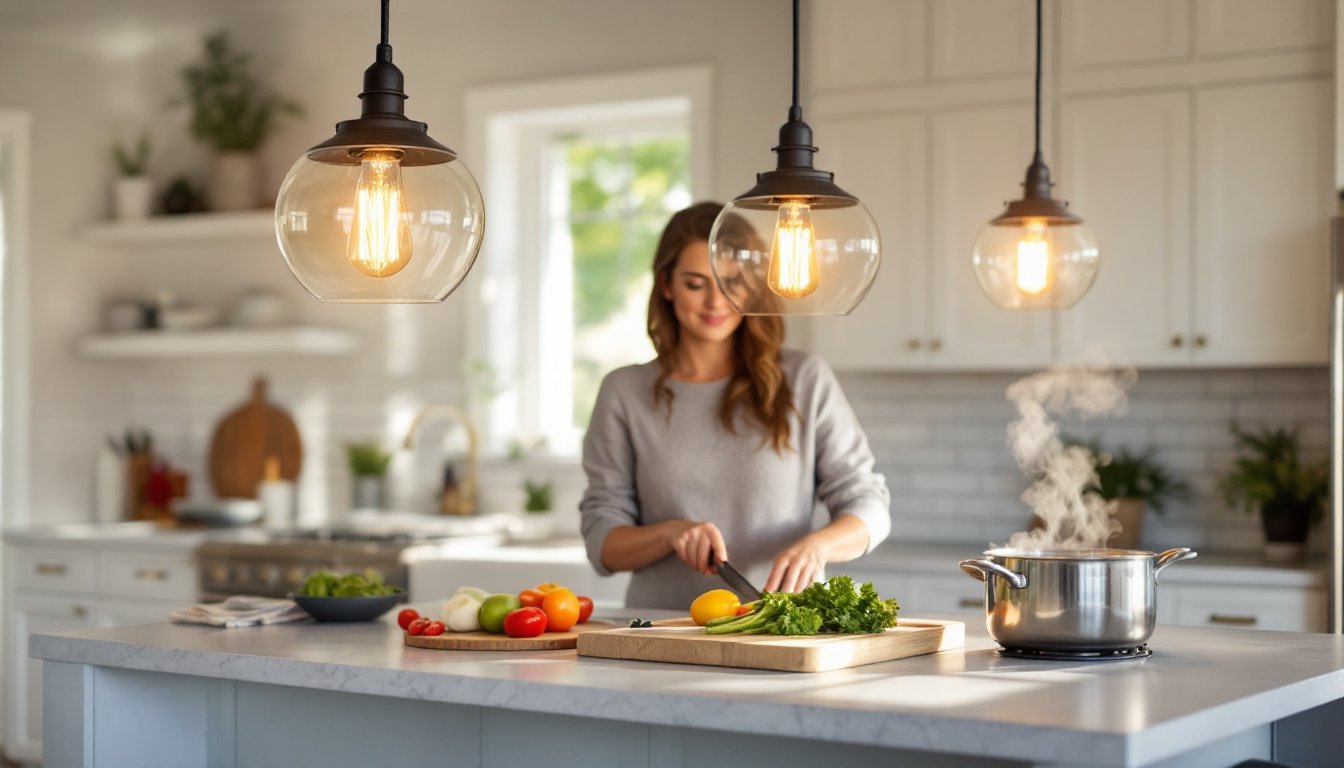

Kitchen pendant lighting has evolved far beyond a simple utility fixture. Today’s modern pendants serve dual purpose: they illuminate your work surfaces while anchoring your kitchen’s design aesthetic. Whether you’re renovating a full kitchen or refreshing just the counter area, selecting the right pendant lighting can transform both functionality and style. This guide walks you through choosing, sizing, and installing modern kitchen pendants, so you can achieve professional results without the contractor markup.
Key Takeaways
- Modern kitchen pendant lighting serves dual purposes: delivering essential task lighting for food prep and defining your kitchen’s design aesthetic.
- Hang pendants 30–36 inches above counters, islands, or bars to provide proper task lighting while maintaining head clearance and visual balance.
- Choose pendant styles—minimalist, industrial, mid-century, or contemporary—based on your kitchen’s architecture, cabinetry finishes, and desired design personality.
- Size pendants at 30–40% of your island width and space multiple fixtures 12–24 inches apart for balanced visual rhythm and even light distribution.
- Verify electrical box location, turn off power, and use a non-contact voltage tester before any hardwired installation to prevent fire hazards and ensure safety.
- Install dimmable LED-compatible bulbs that match your fixture specs and allow brightness adjustment for both task lighting and ambient evening entertaining.
Why Kitchen Pendant Lighting Matters
Kitchen pendants aren’t decorative afterthoughts. They’re hardworking fixtures that illuminate your prep zone, countertops, sink, and island, where you need task lighting most. Poor lighting here leads to eye strain, missed cut marks, and potential safety issues. Good pendant placement also softens the harsh overhead glare from recessed lights or ceiling fixtures.
Beyond function, modern pendants communicate your kitchen’s personality. A sleek glass-and-metal pendant reads contemporary: a sculptural ceramic piece signals artisanal flair. Pendants hang at eye level or just above it, making them one of the most visible design elements in the room. They set the tone before anyone sees your cabinet hardware or countertop material. Modern design trends emphasize clean lines and purposeful materials, qualities that matter whether your style leans minimalist, industrial, or somewhere in between.
Task lighting also improves actual usability. When chopping vegetables or plating food, you’re seeing fine details that overhead fixtures miss. Pendants positioned over an island or bar create natural gathering spots and define the kitchen’s workflow. That’s practical design at work.
Popular Modern Pendant Lighting Styles
Minimalist and Industrial Designs
Minimalist pendants strip away ornament, they’re about pure function and material honesty. Look for clear glass shades with simple metal frames, often in matte black, brushed nickel, or natural brass finishes. These work in tight kitchens because they don’t visually clutter the space. Minimalist designs keep the eye moving through the room.
Industrial-style pendants embrace raw textures and substantial proportions. Edison bulbs, metal cages, and concrete or ceramic shades dominate this look. These fixtures reference warehouse and factory aesthetics, visible hardware, no-frills construction, genuine patina. Industrial pendants work especially well over islands in open-concept kitchens where their visual weight anchors the space. The key is choosing materials that age well and feel intentional, not cheap.
Mid-Century and Contemporary Options
Mid-century modern pendants typically feature organic curves, wooden elements, and warm metallic tones like copper or burnished brass. Designers like George Nelson and Arne Jacobsen shaped this vocabulary, and it remains timeless because proportions and materials feel right. A tapered drum shade or molded plastic form reads instantly recognizable. Contemporary pendants take mid-century language forward, you’ll see geometric forms, mixed materials (wood + metal + glass), and bold saturated colors. These fixtures bridge the gap between retro nostalgia and current minimalism.
When choosing between styles, consider your kitchen’s architecture and existing finishes. A glass subway-tile backsplash pairs better with clean minimalist or industrial pendants. Warm wood cabinetry welcomes mid-century or contemporary forms. Sites like Decoist and Dwell showcase kitchen installations that demonstrate how different pendant styles integrate into real homes. See what resonates visually before committing.
Placement and Height Guidelines
Correct placement separates a polished kitchen from an amateur retrofit. Pendants over an island or peninsula should hang 30 to 36 inches above the counter surface, low enough to cast light on your work zone, high enough that you won’t bump your head or block sightlines across the room. If your ceiling is vaulted or unusually tall (9+ feet), you can go lower, even 28 inches, because the visual proportion still works.
For pendants over a bar or eating counter, use the same 30- to 36-inch rule. Test this spacing before permanently installing: hang a temporary fixture or hold a piece of string at the desired height. Most DIYers underestimate how low pendants can go, they feel too bold at first, but that proximity is what creates proper task lighting.
Cluster placement matters too. Over an island, center pendants in the space and space them 24 to 30 inches apart if you’re hanging multiples. Three fixtures over a 4-foot island creates balanced visual rhythm. Don’t center one pendant over a long island unless it’s truly the visual focal point, asymmetry reads more modern anyway.
If your kitchen doesn’t have an island, pendants above a prep counter or sink still need that 30- to 36-inch clearance. Avoid hanging pendants directly above a range where steam and cooking heat can degrade finishes. Place them offset or transition to a different lighting strategy there.
Sizing and Spacing Your Pendants
Pendant shade diameter should relate to both your island width and counter depth. A common rule is 30–40% of island width. So a 4-foot island (48 inches) calls for pendants with 15- to 20-inch shades. Two pendant fixtures over a 6-foot island work well at 18–24 inches each.
Clearance from the ceiling also affects how large a shade can be. In a kitchen with an 8-foot ceiling, don’t hang a pendant that extends more than 12 inches below the fixture canopy, you need visual breathing room. In a 9-foot kitchen, you have more flexibility: a 15- to 18-inch drop feels proportional.
When spacing multiple pendants, mark the island centerline with painter’s tape, then mark pendant positions on the tape from the center outward. If you’re hanging two pendants, space them 12 to 18 inches apart on a standard island. Three pendants on a longer island? Space them roughly equally, maybe 18 to 24 inches between centers. Step back and look before drilling holes. This takes five minutes and prevents costly remounting.
Remember that shade shape affects visual weight. A tapered drum reads larger than a cylindrical shade of the same diameter because the proportions feel more substantial. A clear glass shade appears smaller than an opaque ceramic one. Interior design inspiration on Homify showcases real kitchens where various sizing strategies work in practice.
Installation Tips for DIY Enthusiasts
Before you drill, verify your junction box location and structural support. Modern pendant fixtures come with a mounting bracket that secures to an existing ceiling box or allows you to install a new electrical box. Check building codes in your area, most jurisdictions require any hardwired ceiling fixture to be supported by an electrical box bolted to a joist or stud, not just the junction box itself.
Turn off power at the breaker before touching any wiring. Use a non-contact voltage tester to confirm the circuit is dead. Even experienced electricians verify this every time, it’s the simplest safety rule and prevents shocks or fires.
If you’re replacing existing fixtures (like recessed lights), you may reuse the junction box if it’s in good condition and the box is properly secured. For new installations over an island where no existing fixture exists, you’ll need to run new electrical cable (typically 14/2 Romex) through the joist cavity from the nearest accessible panel or circuit. This work falls into electrical territory, if you’re not comfortable fishing wire through walls or connecting circuit breakers, hire a licensed electrician. Codes vary by jurisdiction, and incorrect wiring creates real fire hazards.
Once the electrical is ready, mount the bracket to the ceiling box, thread wires through the pendant canopy, and make connections using wire nuts. Gently push excess wire back into the ceiling cavity, secure the shade, and install the bulb. Modern pendants often require LED-compatible bulbs, check the fixture specs for wattage and base type (E26 is standard). A dimmable LED bulb lets you adjust brightness for ambiance during evening cooking or entertaining.
Wear safety glasses during installation, ceiling dust and debris fall down. If you’re drilling through joists or studs, use a dust mask to avoid inhaling sawdust, and ear protection if using a power drill for extended periods.