

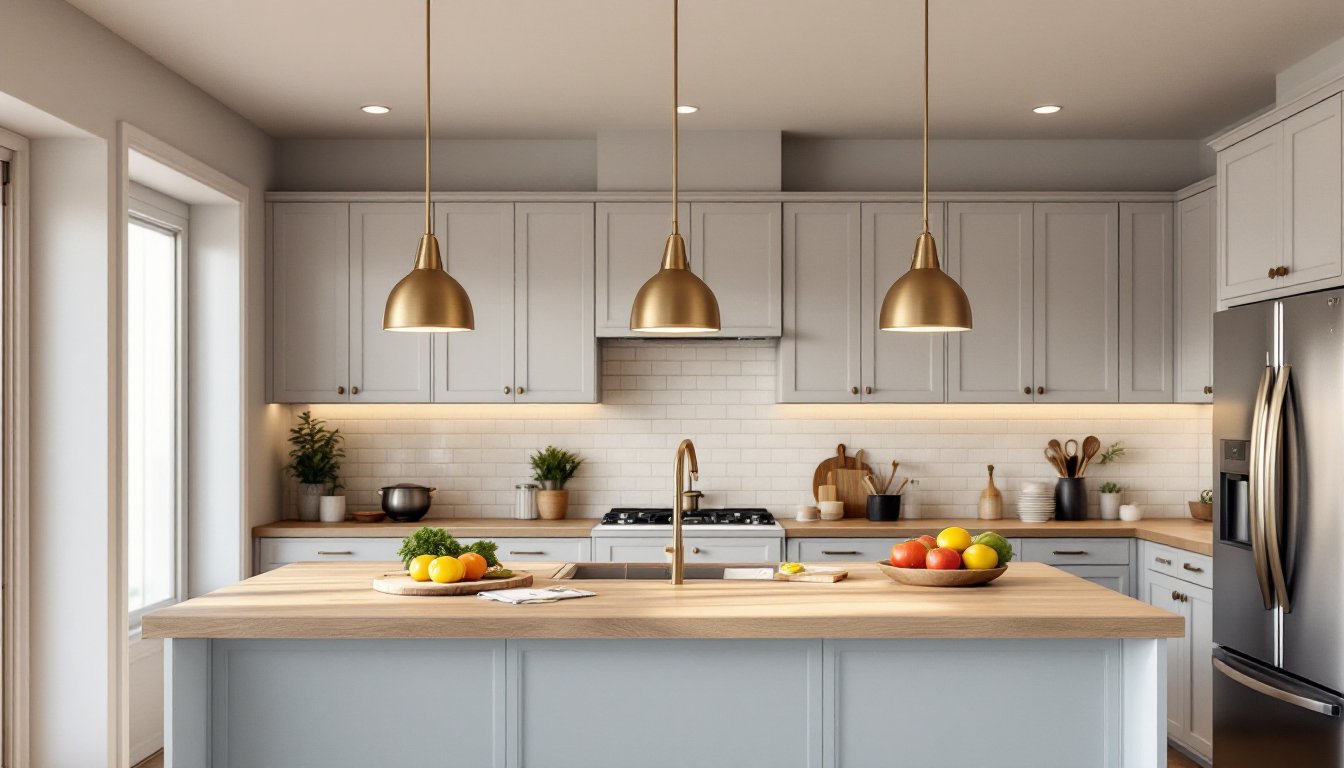

Kitchen island lighting isn’t just about brightness, it’s about creating a functional and inviting hub in the heart of your home. Your island often pulls double duty: workspace for meal prep and social gathering spot during entertaining. The right lighting setup can enhance task visibility, set the mood, and tie your whole kitchen design together. Whether you’re starting fresh or updating tired fixtures, understanding how to light your island properly makes the difference between a kitchen that looks flat and one that feels intentional and well-designed.
Key Takeaways
- Kitchen island lighting requires a minimum of 50 foot-candles for safe task lighting during food prep, often demanding multiple fixtures or combined ambient and island lighting to meet building code standards.
- Pendant lights should hang 30–36 inches above the countertop; for islands under 4 feet use one large fixture, for 4–6 feet use three pendants spaced 20–24 inches apart, and for 7+ feet add a fourth fixture or linear system.
- Proper kitchen island lighting setup balances function with design, transforming your island into both a practical workspace and a visual anchor that ties your entire kitchen design together.
- Always cut power at the breaker and use a non-contact voltage tester before any electrical work; anchor heavy fixtures into studs or joists, never drywall alone, and ensure damp-location ratings and GFCI protection if near water.
- Linear chandeliers and track systems offer modern flexibility ($200–$600+) with distributed light for longer islands, while traditional pendants remain versatile in hundreds of styles to match any kitchen aesthetic.
Why Kitchen Island Lighting Matters
Kitchen islands demand serious lighting attention because they’re work zones first and foremost. You need enough light to safely prep food, chop vegetables, and read recipes without casting shadows across the countertop. Poor island lighting forces you to hunch over or squint, both habits that lead to mistakes and eye strain during longer cooking sessions.
Beyond task lighting, island fixtures set the visual weight of your kitchen. A well-lit island draws the eye and anchors the room, while undersized or dim fixtures make the space feel disjointed. When you light your island thoughtfully, you’re balancing practical function with design intention, and that balance is what makes a kitchen feel professionally executed rather than an afterthought.
Building code requires a minimum of 50 foot-candles for task areas like food prep. Foot-candles measure illumination intensity: standard kitchen pendants typically deliver 20–40 foot-candles at counter height, so you’ll often need multiple fixtures or a combination of island and ambient ceiling lighting to meet that target. The IRC (International Residential Code) doesn’t mandate specific island lighting, but applying task lighting principles keeps your workspace safe and functional.
Popular Kitchen Island Lighting Styles
Pendant Lights and Fixtures
Pendants are the go-to choice for island lighting, and for good reason. They’re available in hundreds of styles, industrial metal shades, fabric drum designs, hand-blown glass, or sleek minimalist forms, so you can match almost any kitchen aesthetic. A typical pendant hangs 30–36 inches above the countertop: any lower and you risk glare or head-bumping, any higher and light spreads too diffusely to be useful.
When shopping for pendants, look for fixtures rated for damp locations if your kitchen gets steamy from cooking. Check the lumen output (brightness) and whether the fixture includes a dimmer-compatible bulb. Most quality pendants use A19 or BR30 bulbs and accommodate 60–100 watt equivalents in LED. A typical 60-watt equivalent LED bulb produces around 800 lumens, which is a baseline for one pendant over an island section.
Designers often cluster three pendants in a row over a longer island, spacing them 24–30 inches apart for balanced coverage. Some homeowners prefer a single statement fixture over a smaller island, while others pair smaller pendants with a linear track system for flexibility. Resources like Remodelista’s pendant light guide showcase minimalist options that work across contemporary and transitional kitchens.
Modern Track and Linear Designs
Track lighting and linear systems offer flexibility that fixed pendants don’t. A track mounted flush or semi-flush to the ceiling lets you aim light exactly where you need it, and you can add or remove fixtures without rewiring. Rail systems typically come in 4-foot or 8-foot lengths, and individual heads adjust 360 degrees to spotlight prep zones or dining areas.
Linear chandeliers, long, low-profile fixtures with multiple light sources strung along a bar, have gained popularity in contemporary kitchens. They deliver distributed light without the visual weight of individual pendants, and they work especially well over islands 4 feet or longer. Expect these fixtures to run $200–$600 depending on quality and finish.
Track systems require a dedicated circuit and professional installation if you’re adding new wiring, since they often draw 15–20 amps depending on how many bulbs you install. If your island is already wired and you’re replacing a single fixture, retrofitting a track system yourself is feasible for someone comfortable working in ceiling boxes. Always cut power at the breaker first and use a voltage tester to confirm the circuit is dead before touching any wires.
Sizing and Spacing Your Island Lights
Get the math right before you buy. Measure your island’s length and depth, then sketch where fixtures will hang. A standard island is 24–36 inches wide and 4–8 feet long. For islands under 4 feet, one large pendant or two modest-sized fixtures work fine. For islands 4–6 feet long, three pendants spaced evenly create balanced illumination and visual rhythm. Longer islands (7+ feet) often need four fixtures or a linear system.
The hang height formula: measure from the underside of your upper cabinets or ceiling down 30–36 inches to the island countertop. If you have vaulted ceilings or open shelving, aim for 36 inches to keep sightlines clear and light distributed evenly. Too high and light spreads thinly: too low and anyone working at the island hits their head or gets blinded by the bulbs.
Spacing matters for both light coverage and aesthetics. If you’re hanging three pendants over a 5-foot island, space them roughly 20–24 inches apart, with the outer pendants about 12 inches from each end. This creates a balanced, finished look and ensures no dark spots over the countertop. Uneven spacing looks intentional only if it’s clearly planned, random gaps feel like a mistake.
Consider how your island aligns with the rest of your kitchen layout. If pendants will hang over seating areas on one side, you may want slightly different positioning than if the island is purely a prep surface. A resource like Homedit often showcases real kitchen layouts and lighting plans that illustrate these spacing principles in context.
Installation Tips and Best Practices
Before you start, check your island’s existing electrical infrastructure. Most islands have a dedicated circuit already roughed in during framing. If yours doesn’t, you’ll need an electrician to run new wire and add a junction box, a job outside DIY scope if you’re not licensed. Once the box is confirmed, you can handle the fixture installation yourself.
Turn off power at the breaker, then use a non-contact voltage tester to confirm the circuit is dead. This is non-negotiable, even if the breaker label says “off.” Rewire the old fixture by disconnecting the black (hot), white (neutral), and bare copper (ground) wires, then connect your new fixture in reverse order using wire nuts or push connectors. Most pendant kits come with an adjustable rod and canopy so you can set final hang height after installation.
If you’re anchoring a track system or heavy linear fixture, make sure you’re fastening into solid lumber, studs or joists, not just drywall. A standard stud is 1.5 inches wide, and joists typically run 16 inches on center. Use a stud finder to locate framing, then use the appropriate anchors (lag bolts into studs, toggle bolts into drywall only as a last resort for lighter fixtures). Never trust drywall alone for a 15+ pound fixture.
Wear safety glasses when working overhead: sawdust, insulation, and old plaster fall down. If your island is near a sink, ensure your fixture is rated for damp locations and that you have GFCI protection on the circuit. Dimmer compatibility is another consideration: not all LED bulbs play nicely with standard dimmers, so buy “dimmer-compatible” bulbs or a fixture pre-wired for dim-ready bulbs.
Test everything before you finalize. Once power is back on, flip the breaker and check that bulbs light evenly and you have no flickering. If you installed a dimmer, test it at various levels. Uneven lighting sometimes means a loose connection: jiggling the fixture slightly can help you identify a loose wire nut. Call a licensed electrician if you see sparking, burning smells, or persistent flickering, don’t troubleshoot further. For larger projects or if you’re uncomfortable with any step, bringing in a pro saves headaches and keeps your warranty intact. The Kitchn offers kitchen project advice and reviews that can help you troubleshoot common issues.
Conclusion
Kitchen island lighting transforms how your island functions and feels. Start with measurements and a clear sense of your style, then choose fixtures that balance durability, brightness, and aesthetics. Don’t skip the spacing calculations or installation safety steps, a well-lit, safely wired island will serve you for decades. Whether you go with classic pendants or a modern linear system, getting this detail right makes your kitchen feel intentional and inviting.